My cricut has really taken over my cutting/crafting time since I got my Art Philosophy cartridge and since I added the Artiste one to my collection well it's been even more so.
The fact that I teach cricut classes has really been my excuse for using it so much and ignoring my poor KNK Groove and my craftrobo.
I did use my craftrobo when I did my couisins baby announcements (more on those in another post) because of the ease of the print and cut feature on it. My KNK Groove got used a little when I did some vinyl text for a business for their vehicle.
Well... Carousel Rubber Stamps where I teach most of my cricut classes at was celebrating their 18th birthday and the owner, Dejah's birthday is the same week as the store (we'll just say she was 29 again). ;) They hold demo days every month where the staff and guest instructors go in and demonstrate different products or techniques and on the weekend around the stores birthday they always have a larger demo day with cake and extra special make n takes and lots of fun to be had!! In addition this year they took all the cards that were brought in for the birthday of the store into a draw for a gift certificate. Of course I saw this as the perfect opportunity to use my software cutters. I really wanted the card to somehow symbolize the store and the fun had there, so I found a site that has PDF eBooks of pop up card patterns, one of which was a 3D carousel or merry-go-round. Perfect!!
I purchased the eBook and opened my funtime software to import the PDF only to discover that it was a secured PDF and funtime would not import it... grrrrrrr..... oh well.. KNK Studio to the rescue!! I opened KNK Studio and imported it no problem! :) After cleaning up the file a little bit here and there I cut out the 28 pieces required to assemble the carousel. In case at this point you're wondering what site I got the file from it was amazingpopup.com .
I used my gold pen to edge every piece in gold and then put it all together (took quite a while to really figure it out as I somehow had it backwards to what it should have been using the directions and had to take it all apart and do it again). I then realized I hadn't really paid any attention to the size of this template as sized how it is in the ebook you would need a card that was 8 1/4" x 7 with the fold being on the 8 1/4" side, this means you'd need 14" paper for your card base... (at least if you wanted it to actually be hidden inside thast is). Oh well, my gold pen made a bit of a mess on the first one anyways (note to self use this pen more often or it doesn't work properly right away)... resized the template and cut to fit a card 6 1/2" x 5 1/4" much better. I also used thicker cardstock this time so the pieces were a little more durable.
Now nobody worry, my son quickly claimed the first one after all the work I spent on it to display on his table in his room as "Mommy, I don't like this card... I love it!"
Okay so, second one complete, card base cut, decorate front of card, go to decorate the inside... gold pen explosion everywhere!! 1 year old daughter awakens from her nap, I bring her out sand of course she immediately puts her hands in the gold pen explosion and starts making pretty handprints all over!! Thank goodness for rubbing alcohol in a spray bottle as I was able to clean the floor quickly this way, and spray a paper towel to use to clean her up.
I look at the clock and ACK!!! the store is closing and my card isn't over there yet. Quick call to the store to make sure they're still there and she assures me that there are still a few people there at the store so they will be a little while longer there. I look at my blank inside of the card (with the exception of my 3D carousel) and sigh as there is no way I have time to decorate the inside with gold ink and some stamps now (considering I have no idea where the stamps I would think to use on it are at the moment).. Oh well, hopefully noone will notice as they'll be distracted by the carousel right?!?!
If you made it through all that wow, thanks for your patience and I seriously hope the laugh at my disaster was worth all that reading. LOL
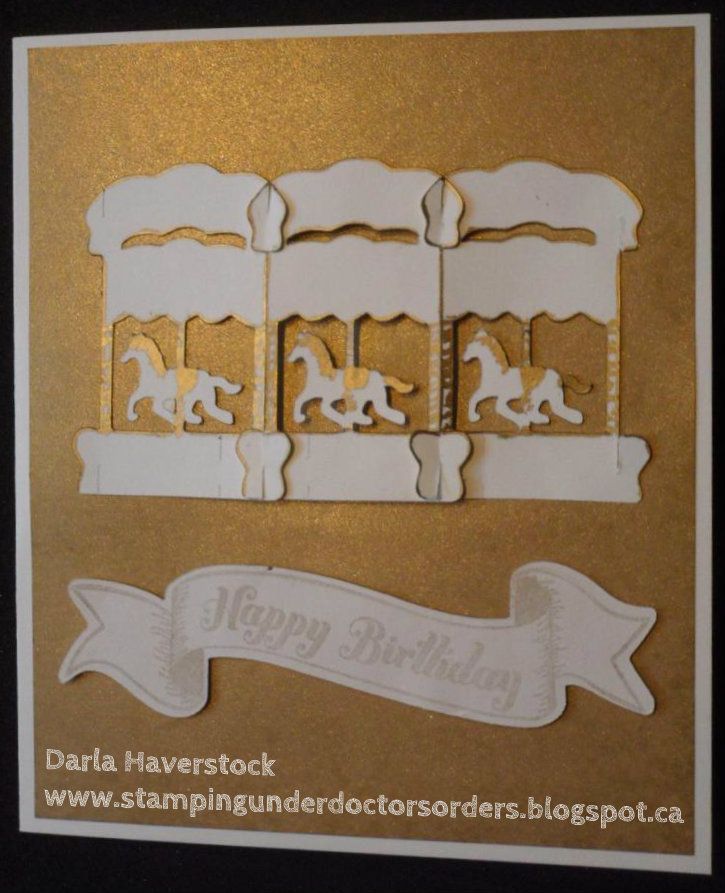
Without further ado... here is what I came up with:
oh and yes you caught me... I did use my cricut and the new Artiste cricut cartridge and stamps that come bundled with it for the Happy Birthday banner sentiment.
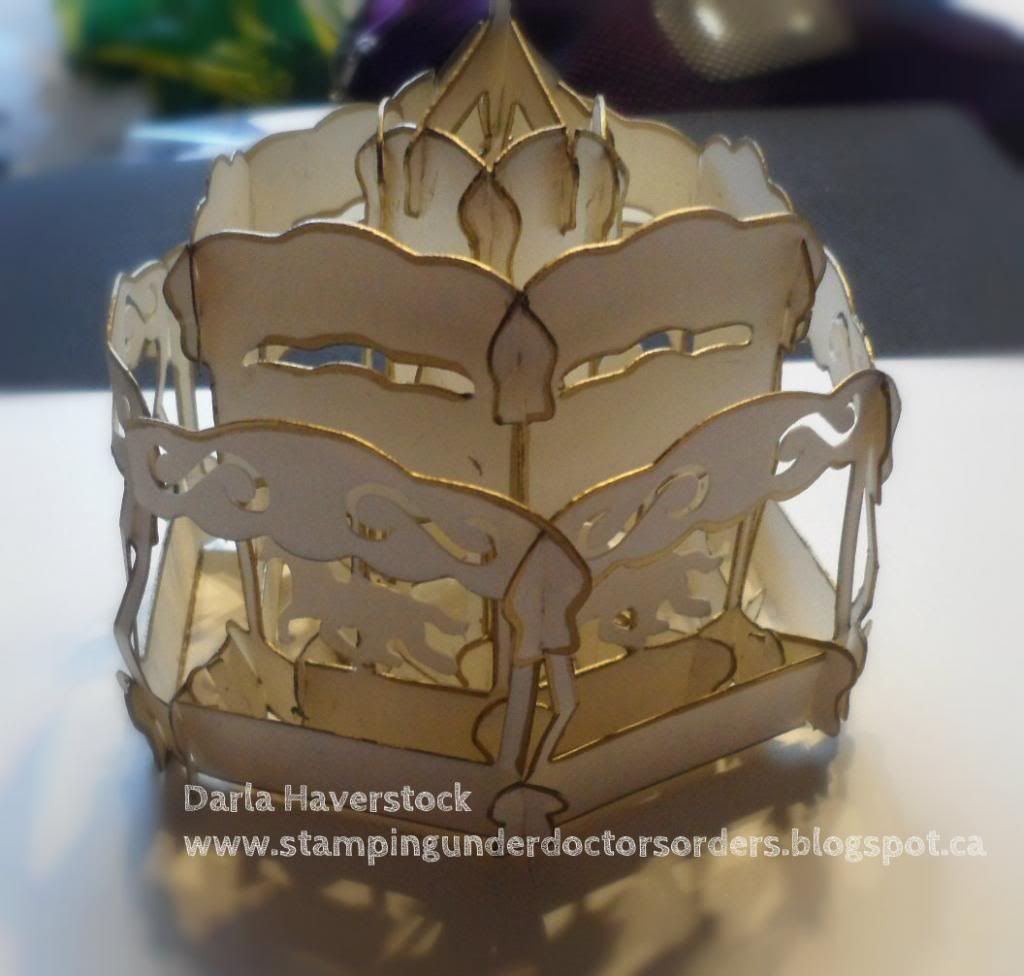
and a few different shots of the inside:
see my blank inside around it?? :(
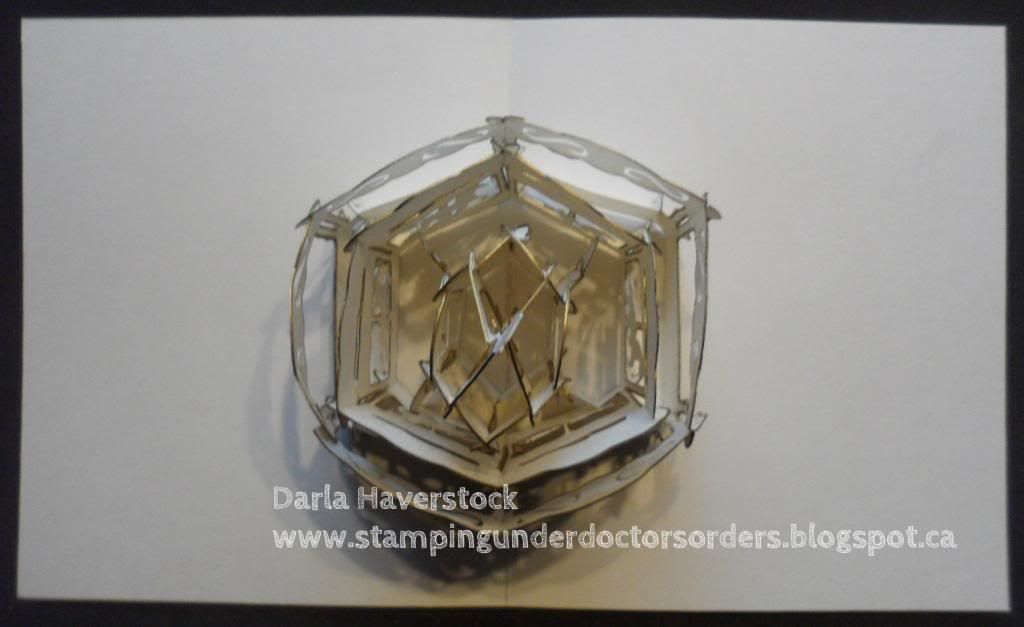
..and from the top
What do you think? I have to say I LOVED this one!! It won't be one I'll ever mass produce as it was VERY time consuming but as a stunning card for a very special person I will definitely do this again.
Happy Birthday Dejah and Carousel Rubber Stamps!!


