Saturday, August 25, 2012

August Artiste Blog Hop


Welcome to our August ARTISTE Blog Hop! Each month we will showcase a feature of the amazing ARTISTE Cricut cartridge which can be purchased exclusively through a Close to My Heart Independent Consultant (if you don't have one I'd love to help you out).

We're so excited to be doing this hop and we have a fabulous lineup with some very talented ladies. There will be lots of fun projects AND some blog candy!!!

This month we will be showcasing a different page from the Artiste cartridge! Did you know there are 700 images on this cartridge?? That's right -- 700!!!

If you just happened to come to this blog, you should start at the beginning at Lucy's blog - http://www.love2createitall.com.

If you want to take a look at the booklets that come with the Artiste cartridge here's the links for you:
Artiste handbook
Assembly Instructions

Well, we've been on vacation for the last 3 weeks (tomorrow is our last day, back to normal on Monday). We have done a lot of travelling and camping during our vacation which meant a very BORED 3 year old sat in the backseat prompting me to come up with more fun stuff for him to do while buckled in.

Besides the great mini-album cuts on the Artiste Cartridge and LOTS of other stuff there are a few puzzle cuts on there which of course got me wondering what I could make with that for my kids that wouldn't get destroyed...
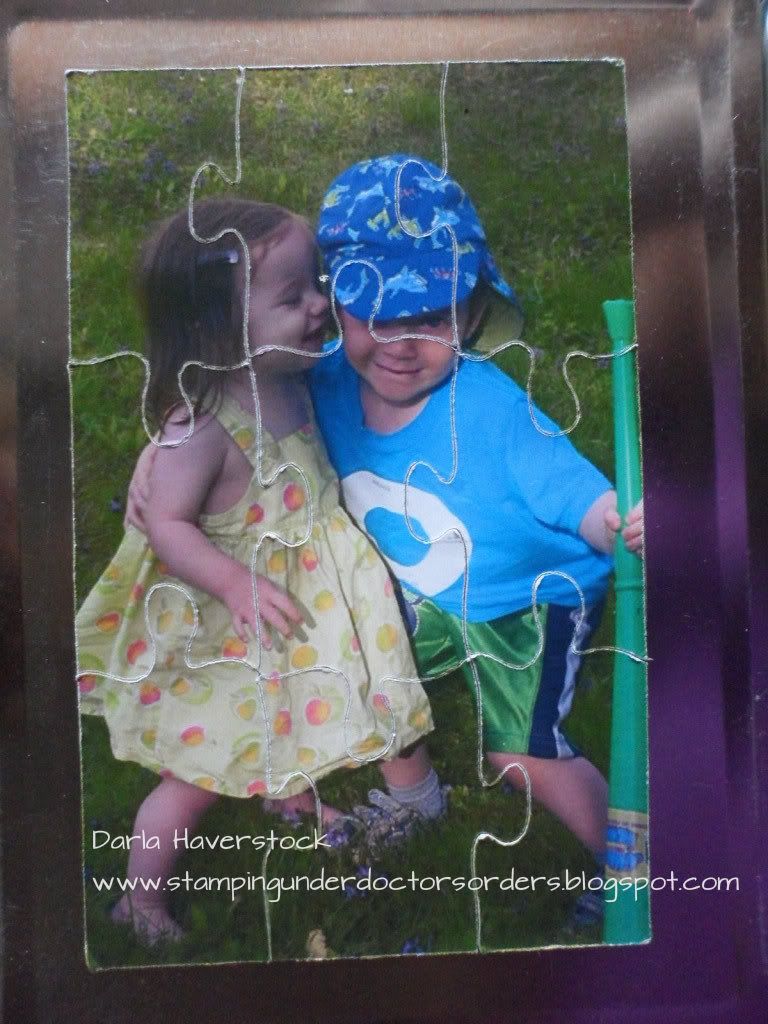
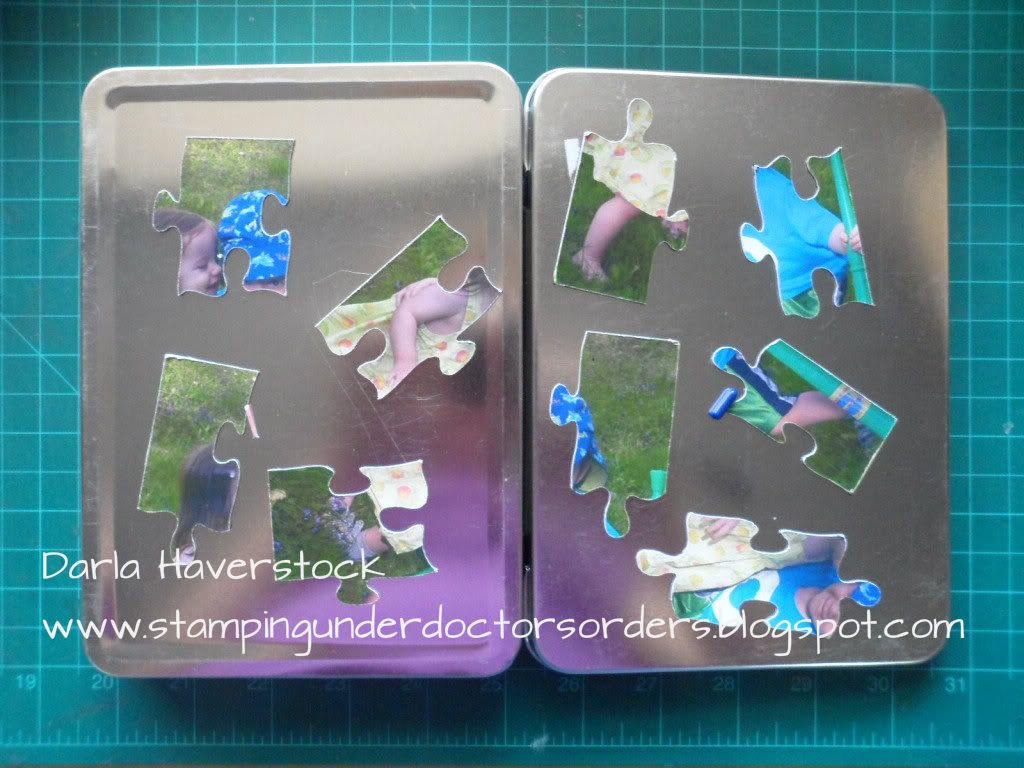
Introducing my magnetic puzzles stored in a tin....

I had some metal containers I had picked up for 99 cents at a liquidation place as well as some magnetic sheets that have adhesive on top of them from the dollar store.

I printed off photos of my kids and stuck them to the magnetic sheets, cut it using my deep cut blade and the puzzle image on page 57 of the Artiste Cartridge (resized using Cricut Craft Room so I could pull it out of proportion and make it fit the picture better) and ta-da!!

You will see that the edges get a bit worn after handled by the kids so I might laminate the top next time... but other than that I am very happy with this project.


Thank you CTMH and my new Artiste cartridge for saving my sanity!!!!
The best part is that it stores in the tin and then you can open the tin up and use the outside of it to assemble the puzzle. I love toys that stay together.

I also posted a project using one of the 3D purses from the cartridge earlier this month here.

Now make sure you head over to Julia's Blog and see the eye candy she has for you!

Here is the list of all the talented consultants who are participating in this months blog hop:

  1. Lucy ~ http://www.love2createitall.com
  2. Darla ~ http://www.stampingunderdoctorsorders.blogspot.com <--- You are here
  3. Julia http://youcancreatectmh.blogspot.com/
  4. Theo www.celebratecrafts.com
  5. Tina Gale http://tiggersscrapplace.blogspot.com
  6. Stephanie http://www.quiltedscrapper.blogspot.com
  7. Mandy http://www.mandydesigns.blogspot.com
  8. Joanne http://josiesjoy.blogspot.com
  9. Laura W http://scrappinsweetiesescape.blogspot.com/
  10. Rebecca ~ http://blog.scrapprincess.com/
  11. Maria Woodworth - http://mariawoodworth.blogspot.com
  12. Judith Ashmore- www.grammiejudys.blogspot.com
  13. Lisa Woodward~http://mycraftyspaces.blogspot.com
  14. Laura Charko - http://koladesigns.wordpress.com/
  15. Jennifer Kramer- http://4heartsscrapbooking.blogspot.com/
  16. Eva Friesen ~ http://loveofcreating.blogspot.com/
Thanks so much for stopping by and hopping with us - we hope you LOVE all the projects we created!

    Saturday, August 18, 2012

    August Stamp Of The Month Blog Hop

    Welcome to our August CTMH Stamp of the Month Blog Hop! Each month we will showcase the Stamp of the Month which can be purchased exclusively through a Close to My Heart Independent Consultant.

    The stamp set we'll be using is "Baroque Borders" and is available for just $5 with any $50 order.

    We're so excited to be doing this hop and we have a fabulous lineup with some very talented ladies. There will be lots of fun projects. 

    This month we will be showcasing the August Stamp of the Month "Baroque Borders" . This stamp can be used in so many different ways and we hope to inspire you with our creations!

    If you just happened to come to this blog, you should start at the beginning at Lucy's blog.

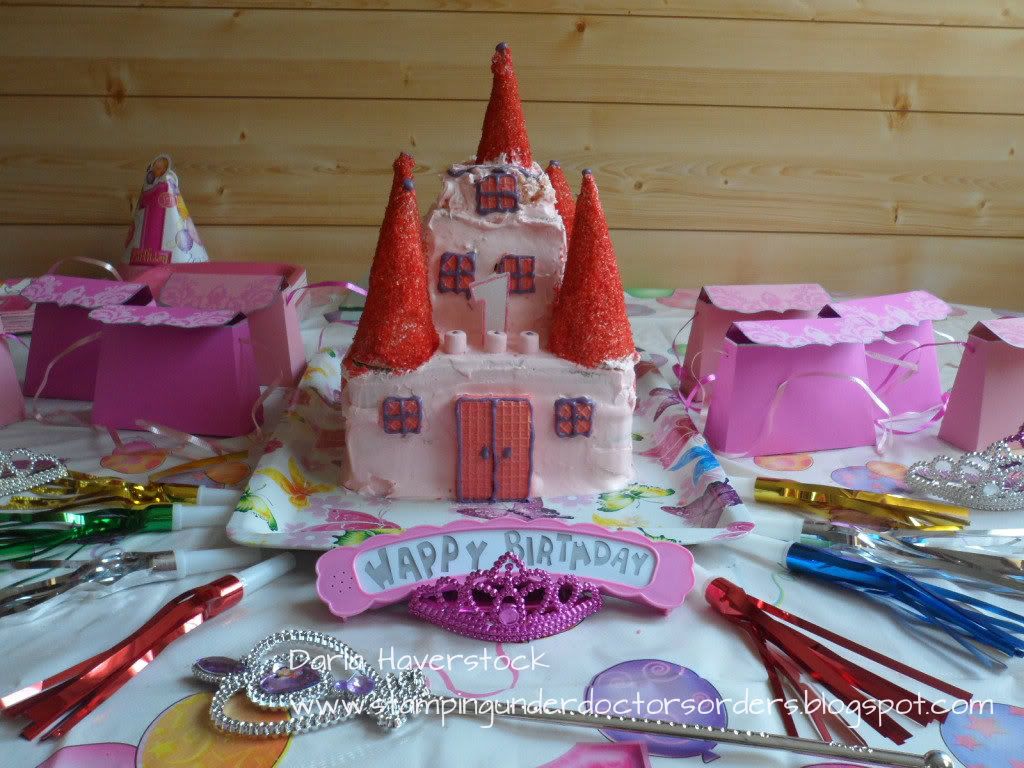
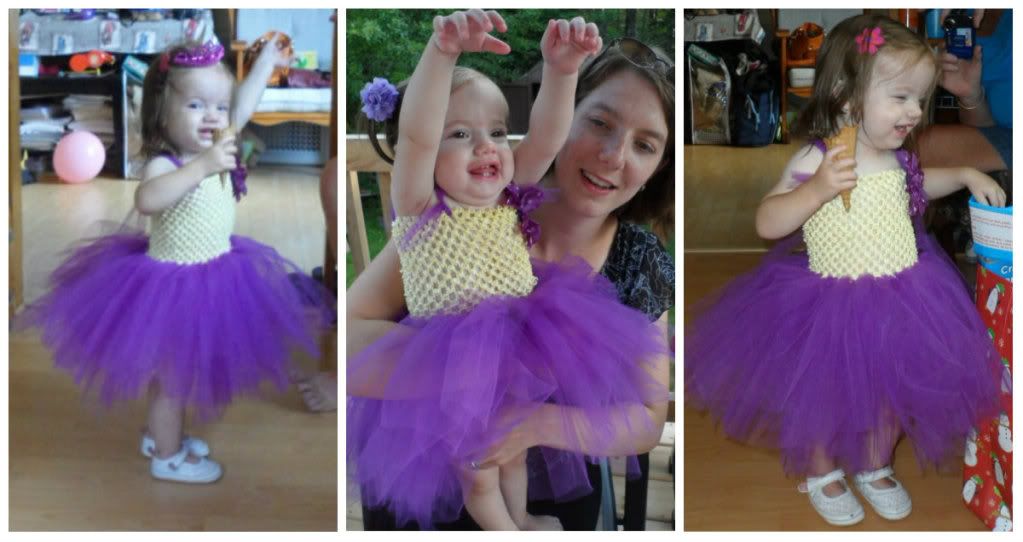
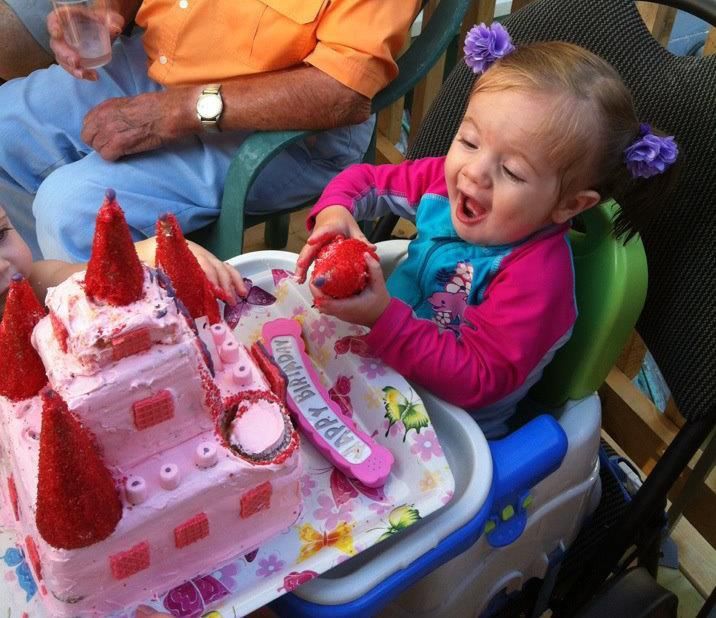
    My daughter celebrated her 1st birthday a couple weeks ago and I lost my mind and decided to throw her a princess party. ;)

    Here is the cake (which looked easy enough.. and would have been had I bought regular cones for the decorations instead of heavy sugar cones which FYI regular cake can't hold the weight of) surrounded by the purses which I made using the Artiste cricut cartridge and the Baroque Borders SOTM, some tiaras, noise makers, etc.


    As you can see the purses wouldn't close after I filled them with lip gloss, nail polish, beads, a little worry doll, crayons, ring, and candy. :)

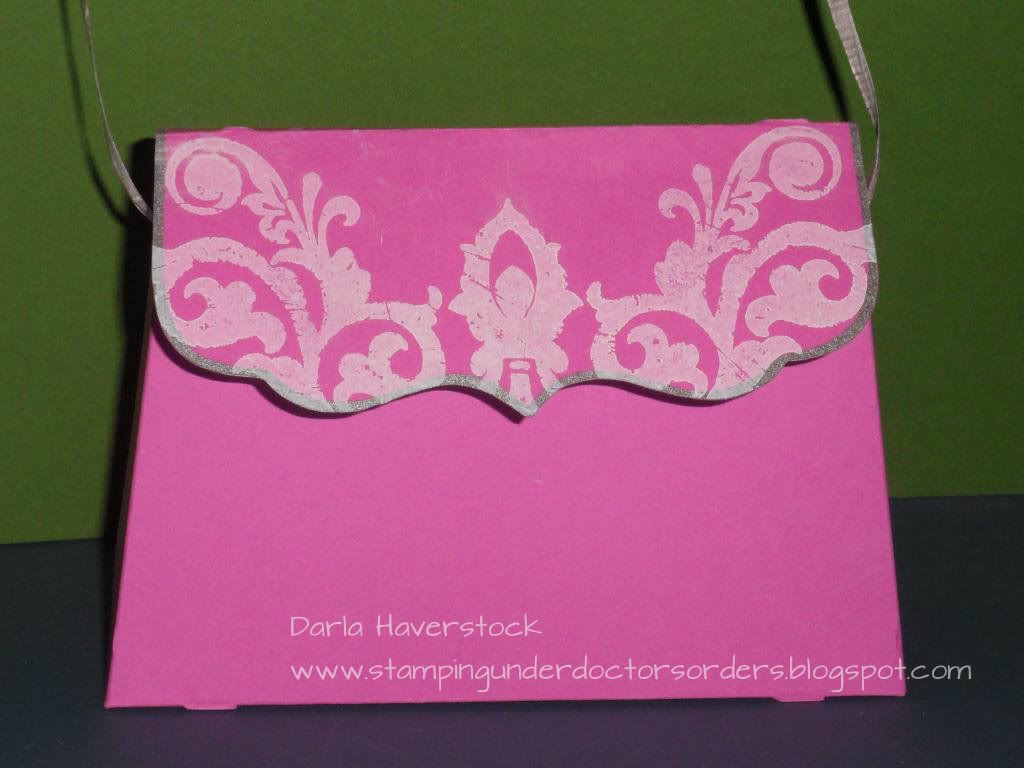
    You will find this cute little purse on page 31 of the Artiste handbook. The handle is just a piece of gift wrap ribbon that happened to match the colour scheme. I started off using regular ribbon but quickly switched when I remembered that my 3 1/2 year old boy was going to be the oldest kid at the party and so using regular ribbon would be a bit of a waste. Here's some up close photos including my prototype (the purple one with the nice satin ribbon).


    After the purses were cut I stamped part of one of the corner stamps from the Baroque borders SOTM set on the flap, assembled and voila!


    Of course I couldn't possible share these pictures with you without also sharing a few more pictures of my princess at her party and enjoying her cake (she's in her swimsuit so I was able to put her right into the little pool to get all the cake off after). ;)


    The next stop on your blog hop fun is Judith.

    Here is the list of all the talented consultants who are participating in this months blog hop:
      1. Lucy ~ http://www.love2createitall.com
      2. Darla ~ http://www.stampingunderdoctorsorders.blogspot.com/
      3. Judith ~ www.grammiejudys.blogspot.com 
      4. Carolyn Heniges http://www.nuts4scrappin.blogspot.com/
      5. Amie Kiger ~ http://www.mimimyselfandibykigz.blogspot.com
      6. Ryan www.pieceandpaper.blogspot.com
      7. Joanne http://josiesjoy.blogspot.com
      8. Pam Stewart - http://i-candy-scraps.blogspot.com
      9. Kindred Hearts - http://itmakestotalcents.blogspot.com
      10. Julia Hammond http://youcancreatectmh.blogspot.com/

        Saturday, August 11, 2012

        August Art Philosophy Hop

        Welcome to our August Art Philosophy Blog Hop! Each month we will showcase a feature of the amazing Art Philosophy Cricut cartridge which can be purchased exclusively through a Close to My Heart Independent Consultant.

        We're so excited to be doing this hop and we have a fabulous lineup with some very talented ladies. There will be lots of fun projects.

        This month we will be showcasing the "Decorative Layer" (shift or no shift) feature of the cartridge.

        If you just happened to come to this blog, you should start at the beginning at Lucy's blog

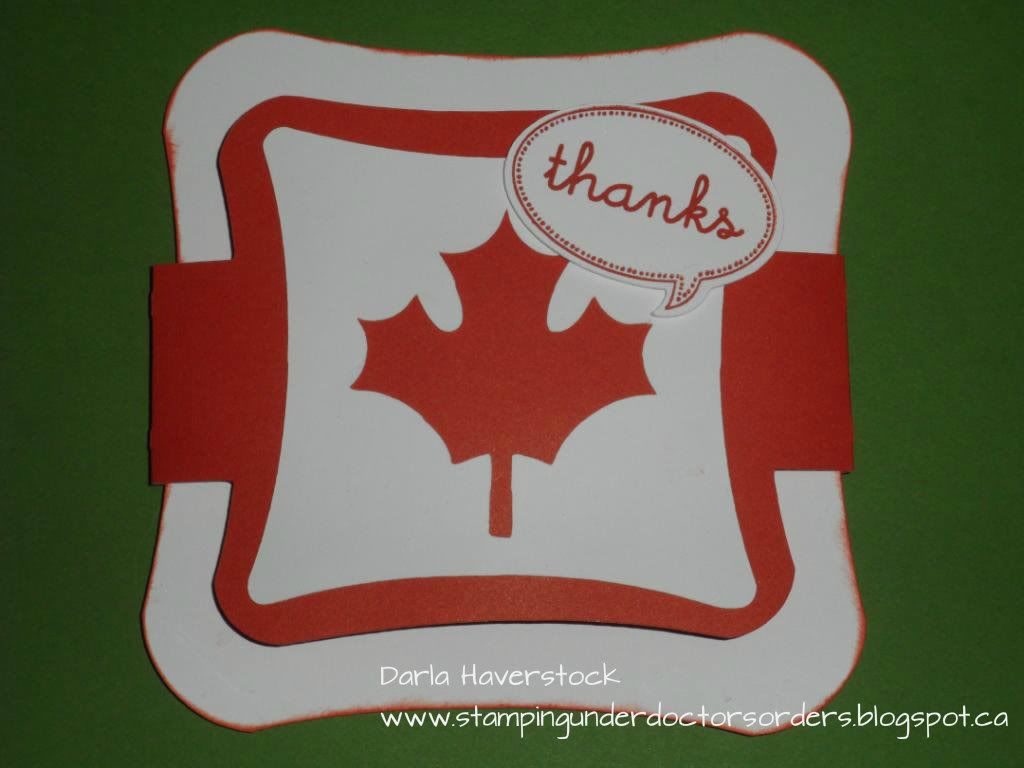
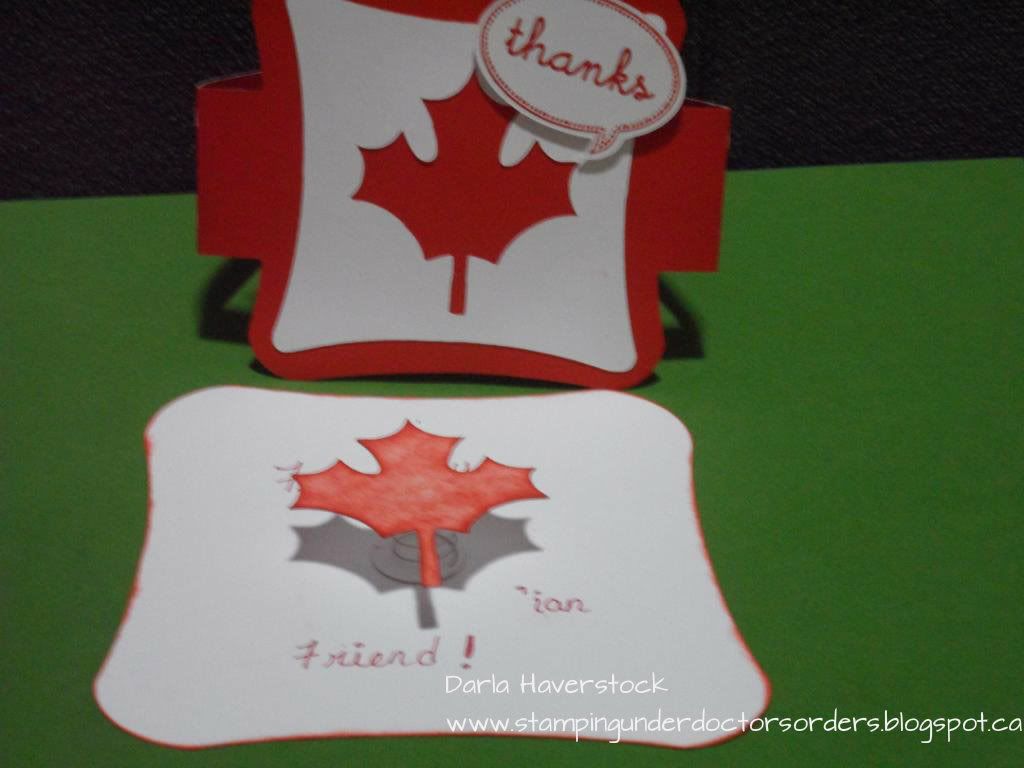
        I will warn you that I was having a bit of a "MOJO meltdown" when I was trying to create something for this hop. I had just finished making all the things for my daughters 1st birthday (more on that in a future post) and had all sorts of crazy stuff going on here as well as planning our vacation (which I am now on while you're reading this). Regardless I was still happy with the way it turned out. I have a good friend in the US who is always helping me out with things that I wanted a card for.. and since she's always referring to me as "my Canadian friend" I thought this was very suiting.

        I really wanted to show how well the images from the Art Philosophy cartridge go with the Artiste cartridge and truly compliment each other.


        I used the decorative layer on page 34 using the shift key from the Art Philosophy cartridge cut at 3.4" (either change the settings on your machine to 1/10 inches to get this size OR use cricut craft room, a gypsy or design studio) in White Daisy cardstock.
        The "thanks" stamp is stamped in Cranberry ink and is one of the stamps that comes bundled with the Artiste cartridge, and as indicated on the carrier sheet for the set it is cut at 1.5" Love these stamps!!


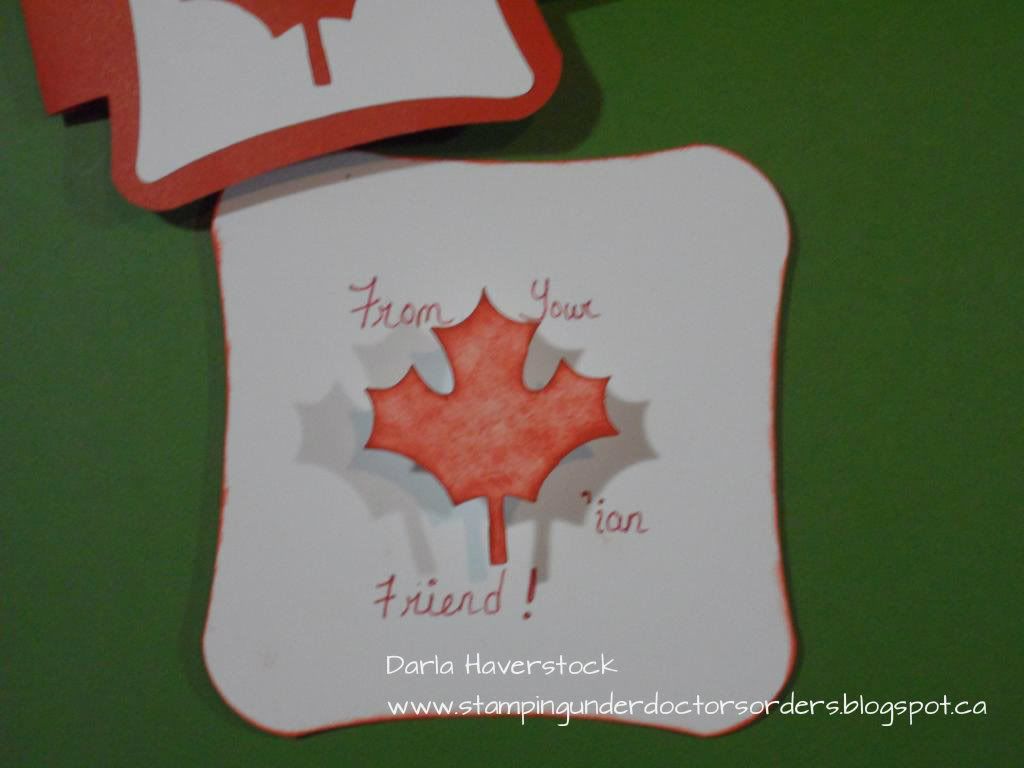
        I then cut the card (with shift key) at 5" from page 46 in the Artiste handbook from Cranberry cardtock. This folds over top of the non-shift card key cut at the same size on page 46 which I cut from White Daisy and inked the edges with Cranberry ink using one of our new pigment ink cubes (love these!!).


        I took the maple leaf from the center of the decorative layer piece from the Art Philosophy cartridge and sponged some cranberry ink on it as well and used an adhesive spring to make it wiggle and pop up off the card once the front closure was removed.

        Hope you enjoyed my project. :)
        The next stop on your blog hop fun is Diana.

        In case you lose your way the entire lineup is:
        1. Lucy ~ http://www.love2createitall.com
        2. Darla ~ http://www.stampingunderdoctorsorders.blogspot.com
        3. Diana ~ http://dianasfreemoments.blogspot.com
        4. Wendy Kessler ~ http://myscrapbookingblog.com
        5. Eva~ http://loveofcreating.blogspot.com
        6. Carolyn ~ http://www.nuts4scrappin.blogspot.com
        7. Stephanie- http://www.quiltedscrapper.blogspot.com
        8. Joanne - http://josiesjoy.blogspot.com
        9. Laura W. http://scrappinsweetiesescape.blogspot.com
        10. Kindred Hearts - http://itmakestotalcents.blogspot.com
        11. Pam Stewart - http://i-candy-scraps.blogspot.com
        12. Carolyn Mendoza ~ http://www.craftingwithcarolyn.blogspot.com

          
        Get widget