Monday, April 29, 2013

Buzz & Bumble 2 page layout

Those of you that know me know that I do NOT scrapbook. I never even print pictures off just view them in digital frames and on the computer. We have apple tv as well so all of our photos saved in our iPhone and iPad display on that too (yes we are a techy geek family LOL).

That said however, my customers get what they want and what they have been requesting is a 2 page layout so.... here goes nothing!

I will be teaching this class at the crop for the cure this weekend. Details on that on my sidebar or in the tab above if you're interested. If you're in HRM or Truro area (or anywhere else between Halifax and Cape Breton I have space in my vehicle and would happily pick you up on the way. :)

Okay enough babble already... here it is... (be gentle.. remember it's my first one that I'm happy enough with to share with you and didn't just rip back apart).

The photo spots take a 4x6 photo on the left page and two 3x3 photos on the right page. I left the label shape on the right page empty for journaling to be added.


The font I used for the "Title Here" is from Artiste but all the rest of the cuts on the layout are from Art Philosophy. The "Wonderful beautiful day" stamp is from the Buzz & Bumble Workshop On The Go (WOTG) as is the patterned paper. 

Distressed all the edges in Chocolate ink and stamped a couple bees from the Buzz & Bumble WOTG (which I quickly coloured the stripes with my honey alcohol marker), fussy cut them out and stuck them on. 
The birds eye is a bitty sparkle that I coloured with my Umber Promarker. You could use one of the brown and tan assorted sparkles that come in the WOTG if you didn't already use them all like me. LOL
The bees flight path is also from the stamp set in the WOTG. It is a straight path normally but one of the great things about our stamps is you can flex them into different shapes if you choose to like I did here.

Just a quick note for you on how I create.. I do my entire mock up on the computer typically.. like this one I did in Cricut Craft Room. Here's a screen shot of what this looked like in steps in concept...
Products Used:

Atlantic Hearts Sketch Challenge : WELCOME! Sketch # 1

The first sketch is up over at mine and Mchelle's new blog!!

So exciting!!

I'd love for you to go check it out..
Atlantic Hearts Sketch Challenge : WELCOME! Sketch # 1

Friday, April 26, 2013

What I've been up to... Atlantic Hearts Sketch Challenge!

Some of you are aware that I've had a few things in the works... Wondering what I've been up to lately?


Well, I can finally announce the first of 2 big things I've been working on. Go check it out!! :)

Atlantic Hearts Sketch Challenge

It's a brand new, weekly sketch challenge that I've started with Michelle.

We are also looking for people to be on a design team. ;)

Friday, April 19, 2013

Operation Smile Silent Auction Items

I have 2 items in a silent auction for Operation Smile up over on Michelle's blog - My Creations With Michelle. Please go check out all the details for this very worthy cause and look at the other fantastic handmade items up for auction.


Please note this auction has ended. Thank you to everyone who checked it out, shared and bid on the items for all your support.


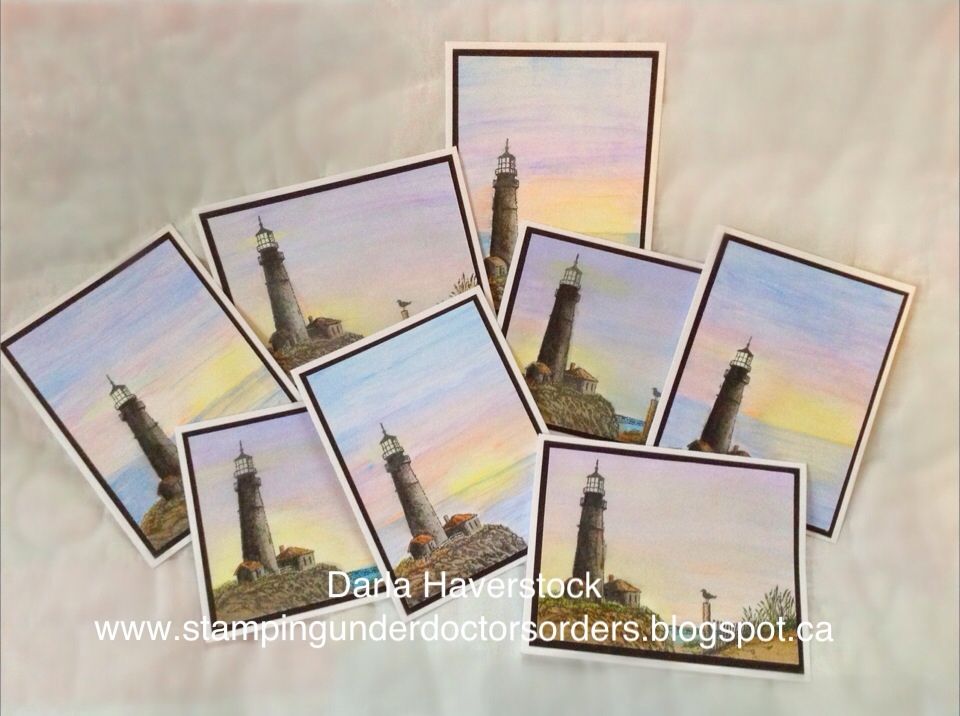
Auction item # 3  my first item in the auction (pictures below) will be available to bid on April 19, 2013 at 9:10 pm AST (8:10 pm EST, 5:10 pm PST) here.

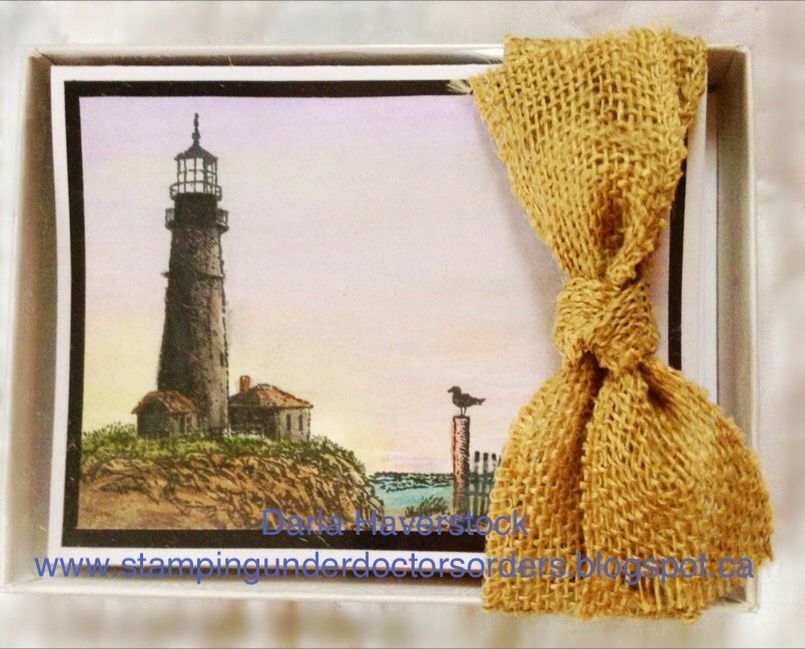
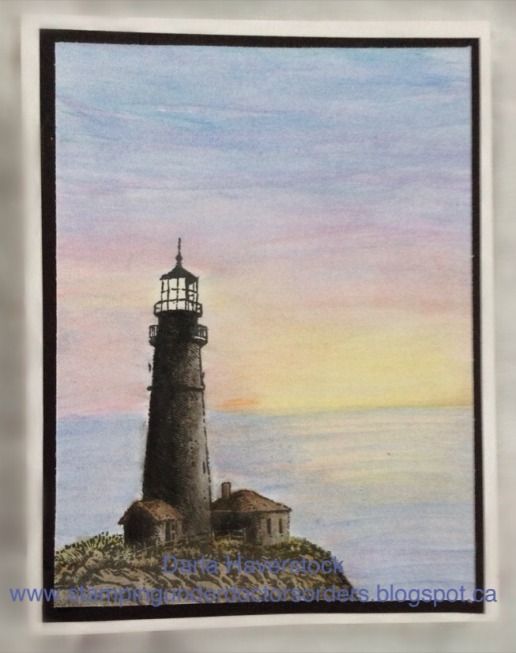
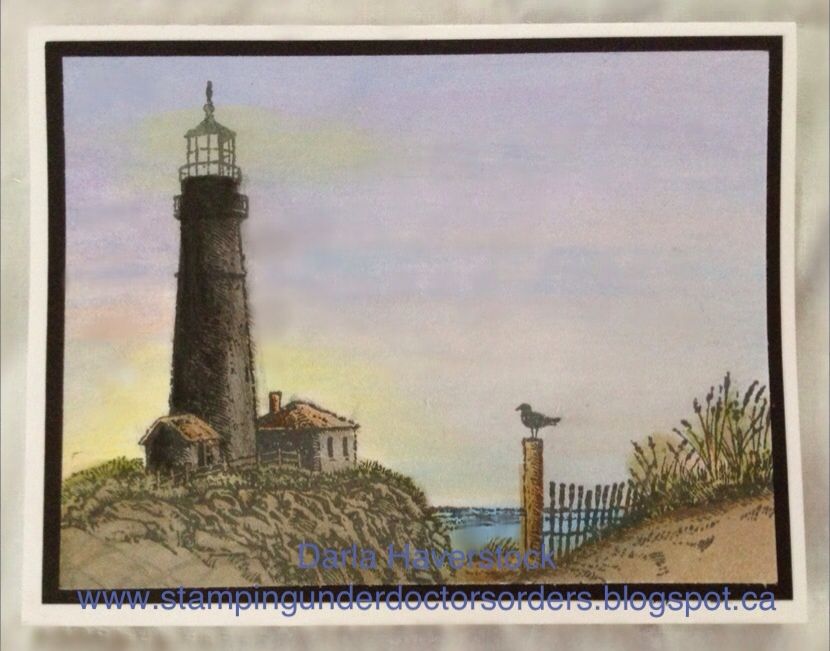
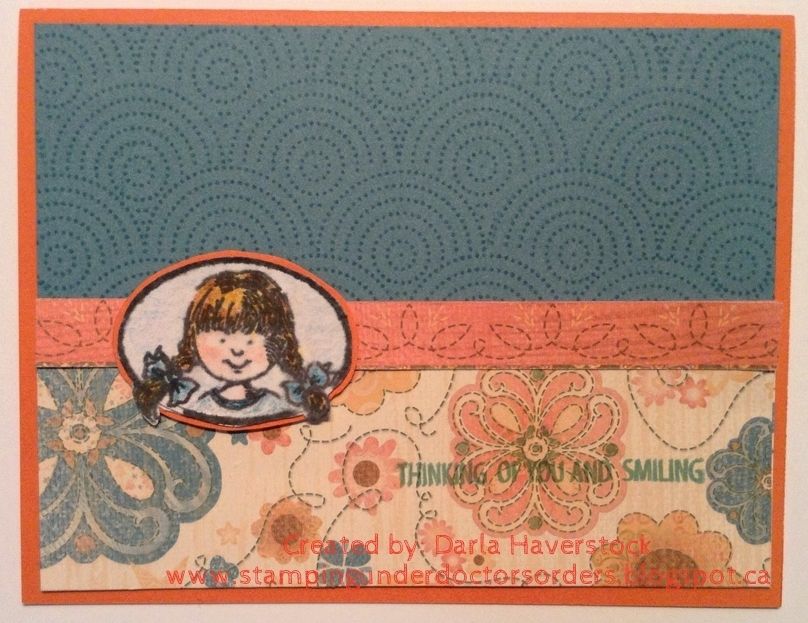
This is a boxed set of 8 cards, 4 each of 2 styles.

The winner can also have sentiments stamped on these if they wish. For now they are blank as that's how I leave mine (particularly for these ones) so they can be used for pretty much any occasion (birthday, sympathy, thinking of you, etc).

These are all hand stamped and water coloured by me (of course). :) I plan to do a video at some point on how exactly I made these and had hoped to have it ready to post today with this auction but never had it done in time, sorry.


The picture of it all boxed up does not do it justice as there is a plastic cover on the box which makes the colours look washed out. 


Auction item # 7 my 2nd item of the auction (pictures below) will be available to bid on April 19, 2013 at 9:30 pm AST (8:30 pm EST, 5:30 pm PST) here. 

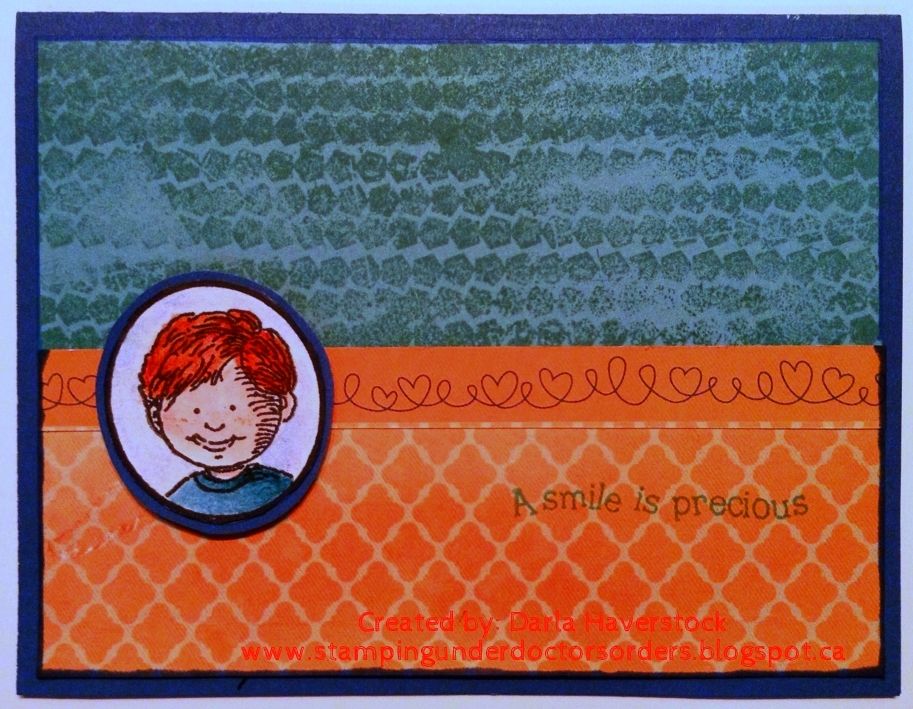
This is another boxed set of 8 cards (4 each of 2 styles).

When I first heard about the auction Michelle was planning to benefit Operation Smile I just knew I had to make a set of cards using a stamp set available to Close To My Heart consultants called precious smiles. The set is designed for us to use to create things advertising Operation Smile and the kids in the set are just so cute! I love using this set.

At request of the winner these can be stamped with different sentiments and/or have the kids haircolour different (although the haircolour change will delay them being shipped by a day). If no request is made then you will get 4 of each one pictured.

These cards make great "go to" cards for birthdays, teacher cards, cards for grandparents and much much more.


not sure why but I can't get a picture that shows the paper colours properly without washing out his face but it is coloured similar to the girls skintone.


I really hope you will all go check out Michelle's auction. It's a very worthy cause and some great items to be had.


Thursday, April 18, 2013

It's finally here and a video for you

Big news in the land of cricut today. ProvoCraft finally finally got the much awaited (a few years now) gypsy linking to Cricut craft room yesterday.


The letter they sent out said the following:
"April 16, 2013

Dear Cricut Gypsy™ owner,
Gypsy linking is here! We're happy to announce that you can now upload content from your Cricut Gypsy™ device to your account in the Cricut Craft Room® design software. Here's how:
Make sure you have the latest versions of Cricut Craft Room® and Cricut Sync.Connect your Cricut Gypsy™ device to your computer and follow the prompts to update the firmware.Open the latest version of Cricut Craft Room®, agree to the linking Terms and Conditions, and then sync and uplink your cartridges.

That's it! After you link your Cricut Gypsy™ device to your Cricut Craft Room® account, you will be able to access the cartridges on your device in Cricut Craft Room®—and vice-versa! For more information, visit our FAQ page. We've put detailed, step-by-step instructions there, too.
If you're not familiar with the Cricut Craft Room® design software, now's the time to link your Cricut Gypsy™ device and try it out! Just like your Cricut Gypsy™ device, Cricut Craft Room® lets you drag and drop your images onto the virtual cutting mat design away—size, slant, weld, rotate, flip, or stretch to make your perfect image.
We'd like to give you a $20 credit to purchase digital images and try Cricut Craft Room® and Gypsy linking for yourself. Just shop for digital content on Cricut.com—when you check out, you'll see your credit in the shopping cart. Then log in to Cricut Craft Room® using your Cricut.com account information and you'll be able to start using your images. Any unused portion of the $20 credit will expire on May 17, 2013 at 11:59 p.m. MST, so hurry and start shopping now!
We know that the wait for Gypsy linking has been long—we appreciate your patience and are confident that you will find it worth the wait!
Thank you,
The Cricut Circle™ Team"
I also wanted to share this post from the cricut message boards:
"While we are dedicated to providing ongoing support and repair options for the Cricut Gypsy™ device, we have made the decision to stop production on the current Cricut Gypsy™ model. This will allow us to focus our efforts and prioritize our product offering. We will still offer support and content updates for the Cricut Gypsy™ device."
I've had quite a few people ask questions about it so.... I took a few screen shots of how to check your cricut.com account for the credit and I made a video of everything I had to do start to finish (mostly in fast forward since YouTube doesn't allow hour and a half videos LOL) to get my gypsy linked up to CCR for my cartridges to show up in CCR that were only on my gypsy before.


To check your Cricut.com account for a $20 credit: 

  • Log into your Cricut.com account and then follow the 3 steps in the photo


  • If the credit is there make sure you use it up as it expires May 18, 2013!!


View the video here:


Please pass this link for the video http://youtu.be/8NPl4trWfA4 on to any you think would benefit. 

If you have any questions please ask (remember if you ask in a comment to please leave a way for me to answer you back as blogger does not share your contact info with me when you comment unless you put it in there). 

Tuesday, April 16, 2013

Mother's Day - Relax

I have 2 cards for you today which I am also sharing on the Card A Day Blog.

I can't tell you which card is for who (mother, step-mother or mother-in-law) as they all read my blog and I want it to be a "little" bit of a surprise at least. ;)

I used a sketch by Michelle Stewart for these cards. Keep an eye out for something exciting along these lines being announced in the next week or so.


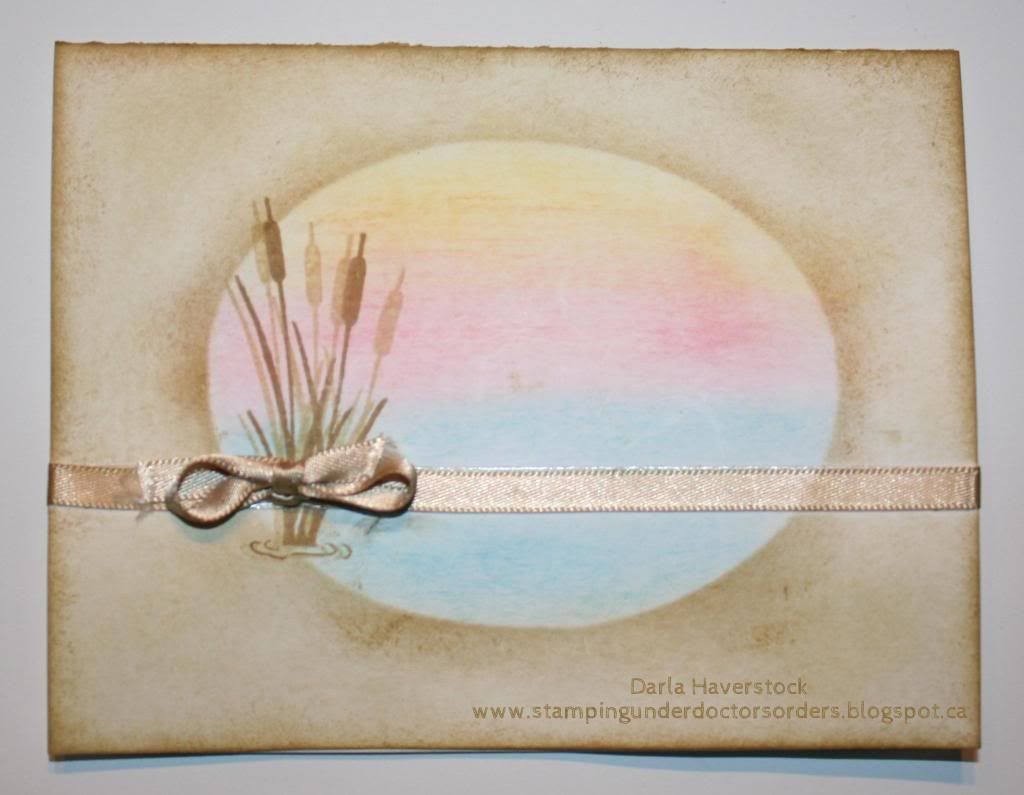
Card 1:
I can honestly say I am still totally undecided as to whether or not a sentiment will go on the front of this or not. I plan to say "Relax..." and then inside "...you deserve it! Happy Mother's Day!" but not sure if I might just put the whole thing on the inside as I kind of like the front of this one as it is and think the sentiment might actually take away from it.... what do you think? I think I'm just going through a phase of no sentiment cards or something as I can honestly say I have not stamped a sentiment on a card front (with the exception of some designs I was doing of Michelle's from our joint card class) in well over a month.

This is a one layer card meaning it is just all done directly on the card base so nothing is glued on or taped on at all (other than the ribbon of course).
I cut an oval using the cricut (both Art Philosophy and Artiste have them as well as many other cartridges) and used it to mask the card off. With the outer part masked off I used the watercolour pencils and put the sunny yellow, bubblegum and crystal blue down and wet with a babywipe (my new favourite technique I came across by accident... more about that in a post later on this week). Then I used the oval piece to cover over my sky line and sponge Bamboo and Desert Sand around the edge of the oval, the edges of the card and then lightly around in between. 
I used a stamp from Gina K. Designs by Theresa Momber called "Life is Good" stamped in desert san and then a few times in bamboo as well. I added a piece of ribbon I had a whole bunch of in my stash.

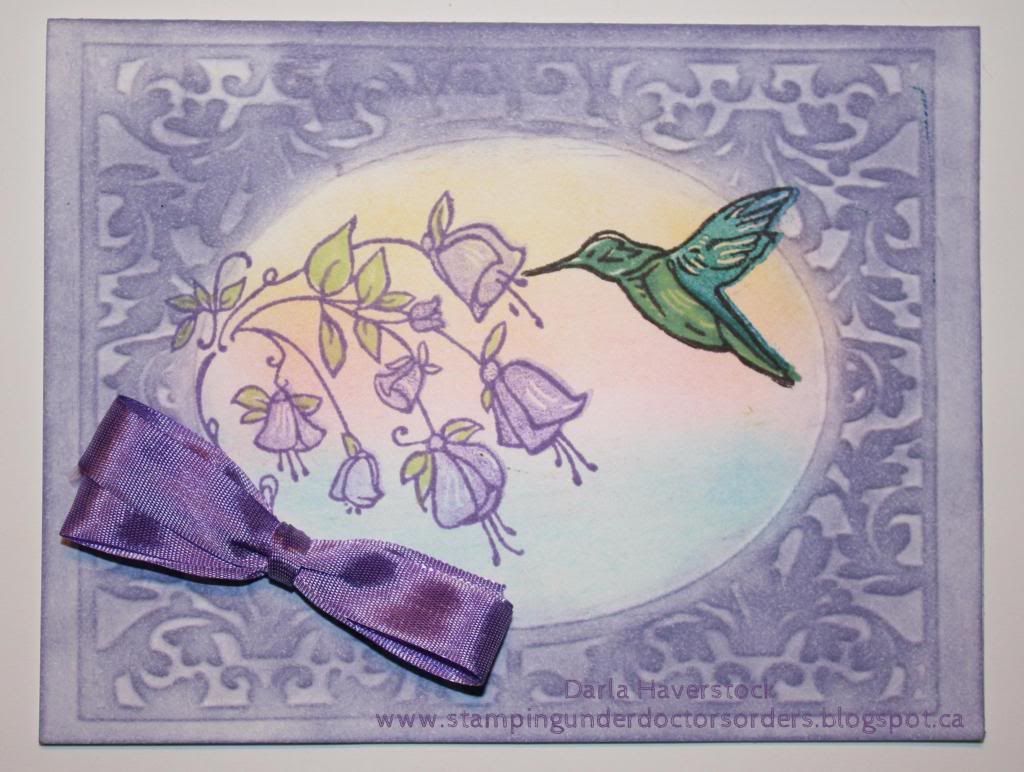
Card 2:
Much the same as the first being a 1 layer card, and again... no sentiment on the front. ;)


This time I cut a frame out of stencil plastic from the Fancy Frames cartridge and used my eBosser with the silicone mat to emboss it into the card front. I brushed over the embossed areas with my gypsy stamp pad. Instead of the watercolour pencils I decided to sponge the colour on for this one using buttercup, blush and sky. I used a gypsy alcohol marker to colour some color ready seam binding. The stamp set I used is a retired set C1389 So Sweet. I stamped with gypsy for the flower outlines, gypsy in second generation for the solid parts of the flowers. I used lagoon and Juniper for the hummingbird, I also used my Pear alcohol marker to colour in the leaves.


Hope you enjoyed my cards.
Products Used:

Monday, April 15, 2013

Cross Canada Home Decor Hop


Welcome to our April Blog Hop featuring a Home Decor project of our choosing. 

The items I chose to use are:


We hope that you will take the time to leave comments on our posts, as we love to get feedback from our viewers....whether it was something that you really liked or some new technique that was used that you would like to learn how to do....by leaving us comments, we get to hear what you like, and what you want to see. Thank you… now on to our hop!

If you have just hopped onto my blog, you can start here as this is a circular hop, but if you want to follow us across Canada then please start at the beginning and join Michelle at My Creations With Michelle. If you came from Michelle at My Creations With Michelle then you are in the right place!


Well, it has been quite the week at my house with many trips to emergency and doctor clinics. First an appointment with the Otolaryngology clinic (Ear nose throat clinic) for my son for some ongoing issues with his throat. Then my son got a little too close at exactly the wrong time while helping daddy lay patio blocks resulting in a gash on his forehead from the shovel and a trip to emergency. Next was my daughters opthalmology specialist appointment (eye clinic) which was a full day event, then a trip to our family doctor to have my sons tetanus updated and to get my daughter checked out for a high fever which turned out to be an ear infection... just got her started on antibiotics and it was back to doctors office with my son as he got strep throat... again. Sheesh.. I think I spend more time in the hospital now with my children than I did when I worked there full time. Alright... rant over! ;)

After my crazy week I really needed something cheery so how about some flowers that won't turn around and die on me?! :)


I took the treat tube, drilled a little hole in the top and decorated it with some burlap ribbon as well as some red ribbon that I got a while ago from the While Supplies Last section (always a great place to get some awesome deals!) and then cut out a few roses in varying sizes (Accent 3 on page 54) from the Artiste cricut cartridge. 

I cut some leaves from the cartridge as well (shift + 3D object page 54) which I crinkled up to give them some dimension. It was at this point that I realized I was all out of floral tape so I stole the green painters tape from hubbys toolbox and used it instead.

I mixed up some ruby re-inker, water and pearl paint mixture and painted it on the flower where I wanted to add a bit of colour to it. I then used a little bit of straight re-inker painted on to add a deeper shade in some places. 

A few little wire twirls in with the roses as well as one piece wrapped around the outside of the burlap ribbon to tie it all together finished it off.

It's just the right size so it doesn't take up much real estate on my craft table. 

Your next stop on the Cross Canada Hop is Rosalynd of In My Scrappin' Room.

If you get lost along the way, you can head to Michelle at My Creations With Michelle blog, as she has the complete blog list.Thanks for hopping along with us - we hope we were able to inspire you to create your own projects using some of the designs and paper seen along the way. Join us again in May when we will be featuring some Canvas projects.

  
Get widget