
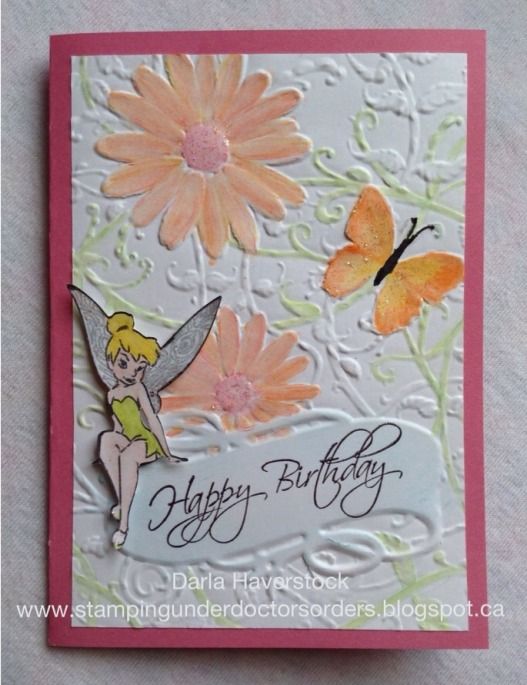

This one was coloured with the watercolour pencils. Tinkerbell is drawn on the cricut (Tinkerbell & Friends cartridge) using the cricut gel pens (once in silver using the filigree creative feature, again in black using just the image button) and then cut out using the blackout feature, coloured with the watercolour pencils as well and popped up on foam tape. A little glitz glitter gel on the butterfly, flower centers and Tinks' wings and shoes. The sentiment is from For Every Occasion. The card base for this one is Cotton Candy..
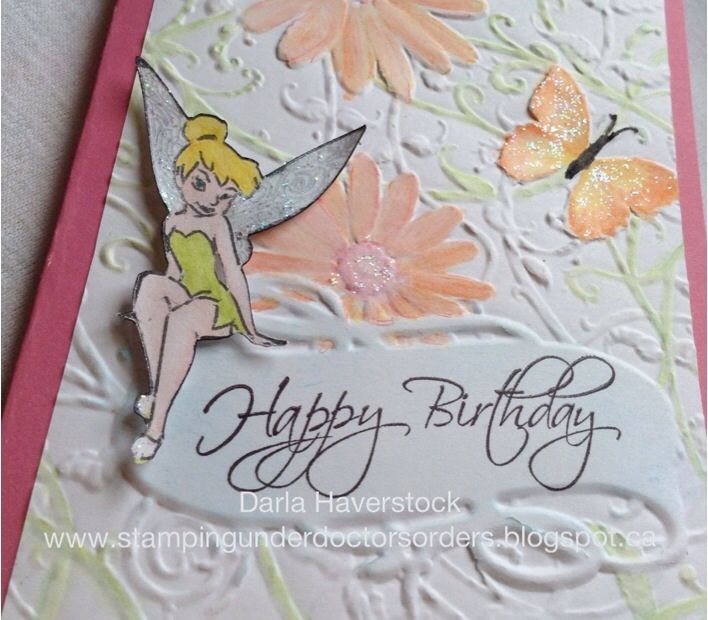
A close up to see the dimension..
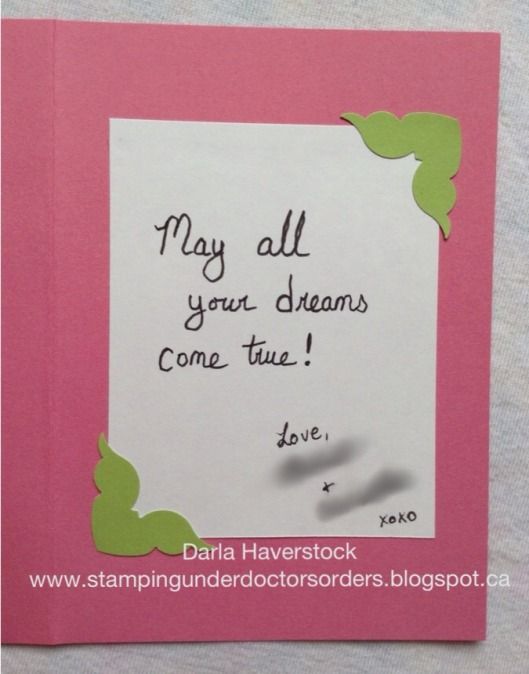
Of course I just have to show you the inside of this one because our Pear cardstock is the perfect colour for Tinkerbell.
Edited to add:
I have a YouTube video on using the markers you can watch here http://youtu.be/nSDE1TdCs8U
The gel pens work the same way. It's just a matter of making sure both the image you choose to draw and the one you choose to cut "cut" in the same spot.
For tinker bell:
- I loaded my paper in the top right of my mat and pressed load mat.
- put my silver gel pen in and chose my size (3" for Tink I used on my card)
- set speed and pressure to what is written on the side of the gel pen
- select the image (I used the filigree feature of Tink to get the swirls on her wings) and press cut
- once its done drawing with the silver I pressed load mat again to bring it back to the same starting position
- replaced silver pen with black
- chose the main image (no creative feature) so it would draw all the details (eyes, nose, mouth, etc)
- press cut
- press load mat again to return to starting position
- take pen out and insert blade
- change speed and pressure to the correct settings for the paper I was using
- choose the blackout feature so it only cuts the outline
- press cut

This is such a great card for girls, love Tinker Bell
ReplyDeleteThis is so cool! Oh I got to learn how to do this with the cricut thanks for sharing
ReplyDeleteThank you Tina. :)
ReplyDeleteI have a YouTube video on using the markers you can watch here http://youtu.be/nSDE1TdCs8U
The gel pens work the same way. It's just a matter of making sure both the image you choose to draw and the one you choose to cut "cut" in the same spot.
I will also edit this post to include written instructions. :)
I have received your emails from your blog for some time and love your work. This is amazing and has inspired me. I have the Tinkerbell cart and have tried cutting but at the smaller sizes it has problems with the face particularly the eyes. This is awesome thanks so much for sharing.
ReplyDeleteLovely! Wish I had a cricut
ReplyDelete