Showing posts with label stamp. Show all posts

Wednesday, August 20, 2014

Thinking outside the box

I have to start this post off by showing you the Stamp of the Month for this month so you know where this started from...


Last night a fellow consultant (thank you Dominique) posted this picture where she was trying to turn the owl stamp into a raccoon but felt something just wasn't quite right..


Me being the kind of person I am, saw this as a challenge.
I decided to do what I do with all things that don't quite look right... I immediately turned it upside down. It's a strange trick for your brain to be forced to see it differently.

I then of course had to immediately go draw all over it with the drawing program in my phone. (Oh did I mention it was almost midnight and I was in bed but couldn't sleep? LOL)

Here's what I came up with...

What do you think? 

I also want to show you the owl could also be a sock monkey... Check out Dominique's post about that here


With a minimum qualifying purchase, get your D-size Stamp of the Month set for a discounted price! Add the stamp set to your cart on this page at full retail price or, with your qualifying order, add it at checkout for the promotional price.

Saturday, September 22, 2012

September ARTISTE Blog Hop


Welcome to our September ARTISTE Blog Hop! Each month we are showcasing the amazing, exclusive ARTISTE Cricut cartridge which can be only purchased through a Close to My Heart Independent Consultant.

We don't want to scare you but Halloween is a little over a month away and we know you have to be thinking about what YOU are going to create for this spooky holiday! We decided to show you all the creative projects you can make using our exclusive Artiste Cricut cartridge. You will be hopping along our haunted trail of creativity - you never know what you will see next!

If you just happened to come to this blog, you should start at the beginning at Lucy's blog

Also, to help you get ready to start making your own Halloween projects Lucy has some blog candy for you! She is giving away a Moonlight Complements Dimensional Elements pack! That's two (2) sheets of Printed Dimensional Elements that you can use to create your own Halloween project! There is a picture of the blog candy on her blog. All you have to do to be eligible to win is to leave a comment on everyone's blog AND become a follower of Lucy's blog. (If you are already a follower, just let her know in your comment.)

Okay.. first I need to apologize. If you came to visit my blog earlier blogger apparently did not keep all the updates I did to my post so all you saw was a Christmas themed project. I'm sure you all had thought I lost my mind! 

The truth is I was working away on my project for this hop and looking through the handbook I got excited to try the holder you will see below and I wanted a bunch of cards to put in it so I pulled out my Pear & Partridge Workshop On The Go Cardmaking Kit and got working on the cards. I also didn't like the plain squares so as you will see below I switched it out for a shape from the Artiste cartridge as well.

Now.. 2 days ago I was going through the hop write up and editing my post for you all when I realized that I had completely ignored the hop theme "Halloween" so a complete re-do was in order! I edited the whole thing and re-scheduled it to post but apparently blogger really liked my Chrsitmas project as it reverted the whole post back to that. Good new is now I'm going to show you both today instead of saving the Christmas one for tomorrow like I was going to had blogger cooperated. :)

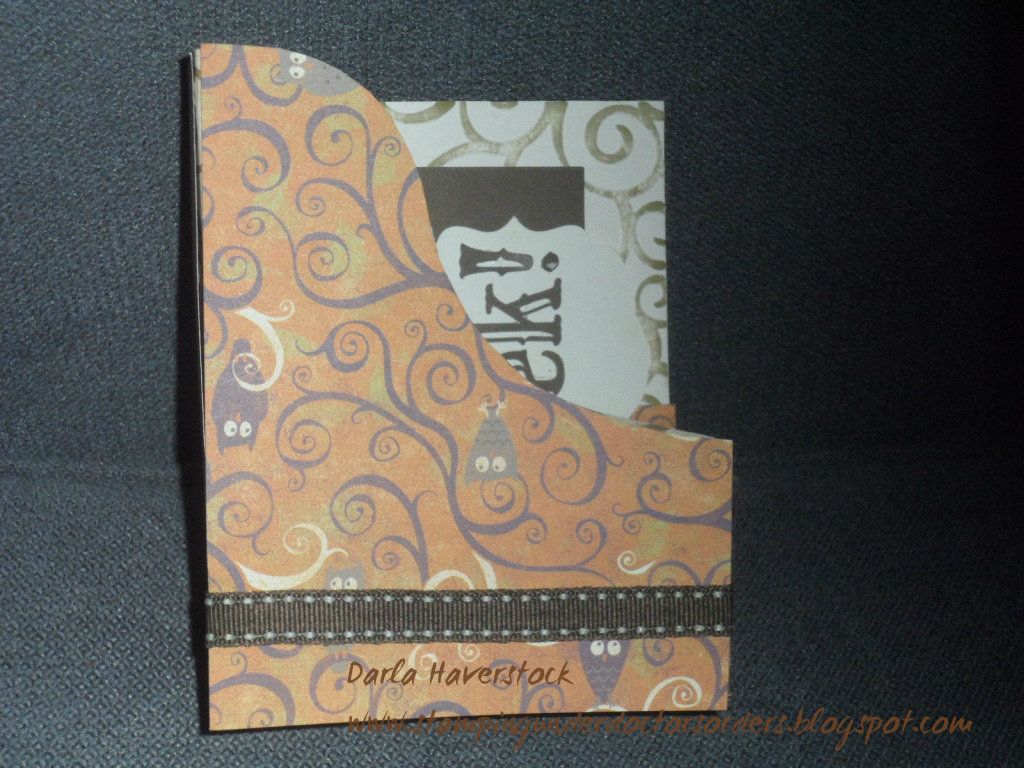
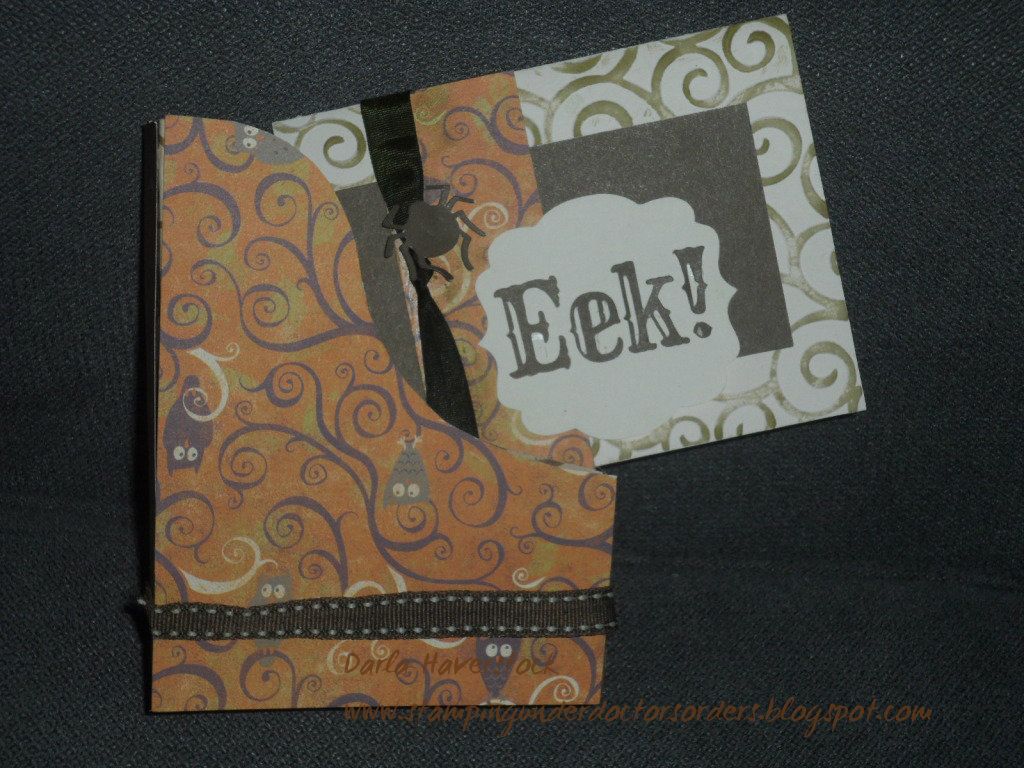
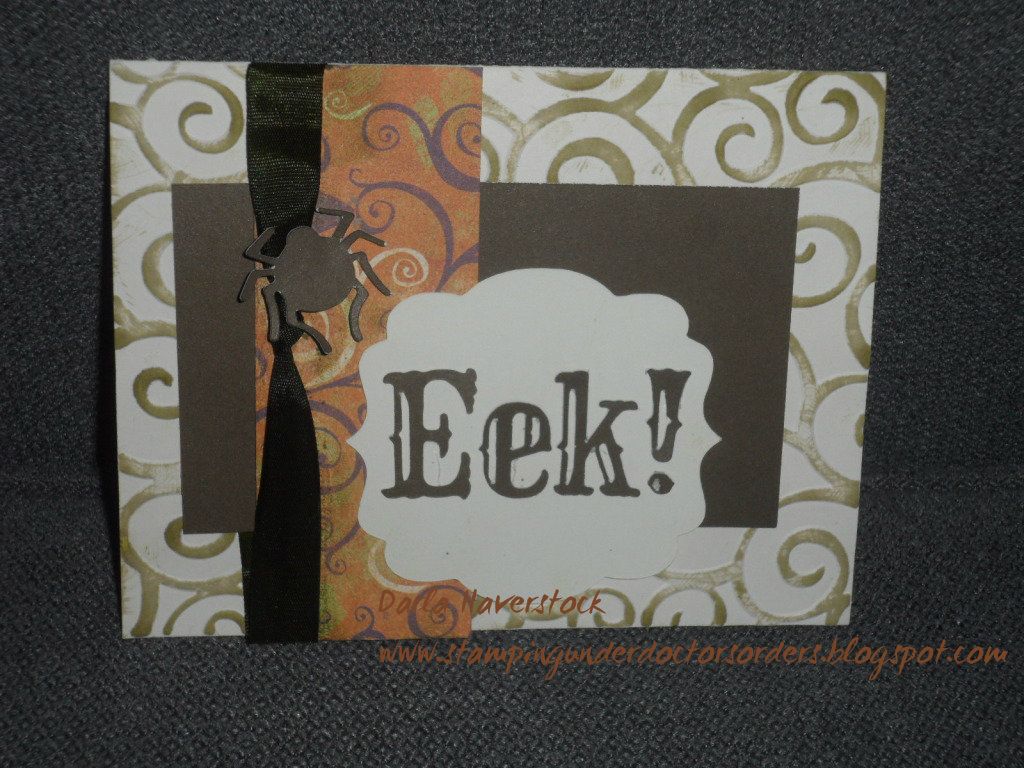
I decided I still wanted to use the same concept.. so I switched out the Pear & Partridge B&T for the Moonlight B&T. I embossed my card base and ran my cocoa ink pad over the embossing to highlight it and instead of using stamps I cut the phrase "Eek!" from page 76 of the Artiste handbook and I also added the spider (accent 4 with shift on page 77) cut from more of the same left over cocoa cardstock from the Pear & Partridge Workshop On The Go Cardmaking Kit, seriously I wonder how many more projects I can make from this kit?? I added some color ready seam binding that I died with the Olive stamp pad and eur"eek"a a Halloween themed project to share for you.

Here are some pictures of my Halloween theme card and holder set:


Now for more details on the shapes and to see what the Christmas themed one looks like and how easy it was to switch just scroll down and you can see my post that anyone that came this morning saw as well as you will find the hop lineup and your next stop at the end.

Let me know which one do you like best??

If you don't want to see the Christmas one and just want to be on your way to the next stop.. The next stop on the haunted trail is Diana - Dianas Free Moments and you're going to love what she has for you.

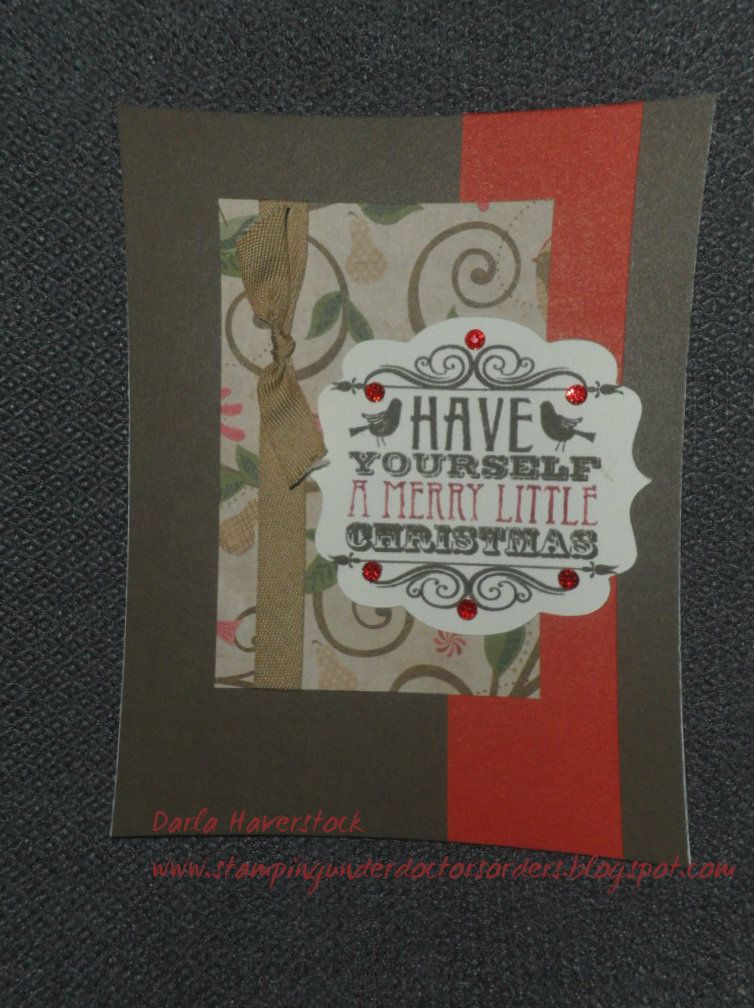
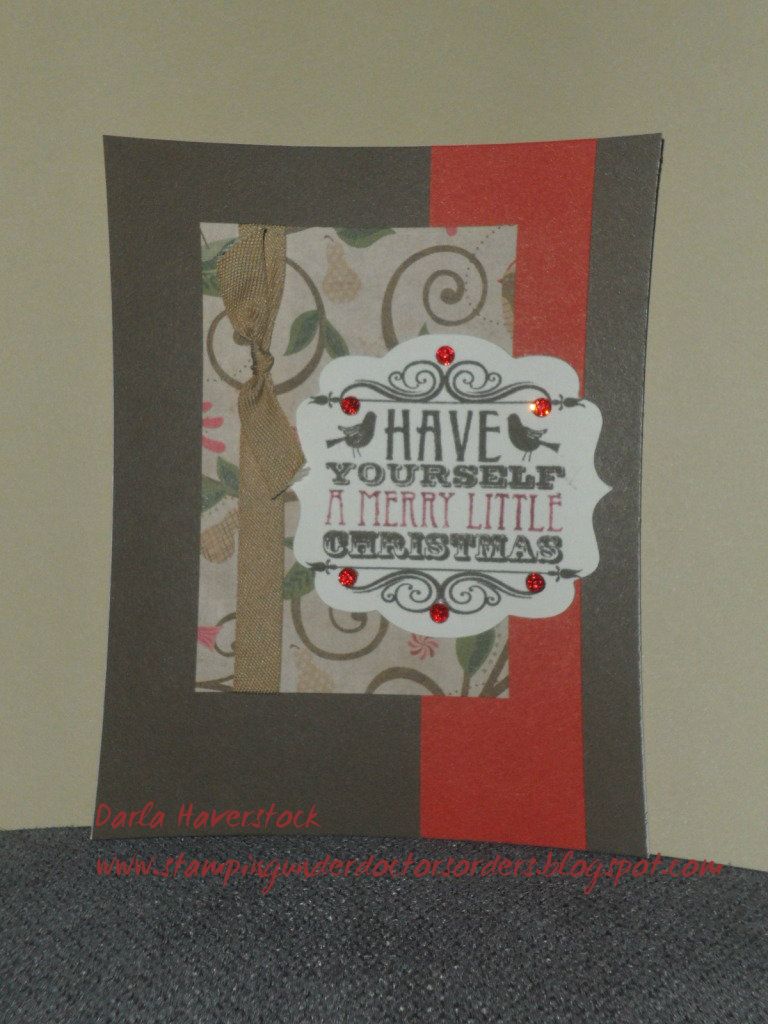
Today I used the Pear & Partridge Workshop On The Go Cardmaking Kit and essentially used the projects exactly as the workshop instructions that come in the kit say to.. except I found the plain squares for the focal images boring so I used the Accent 3 shape from page 61 of the Artiste Cricut Cartridge for 2 out of the 3 card designs in the kit.


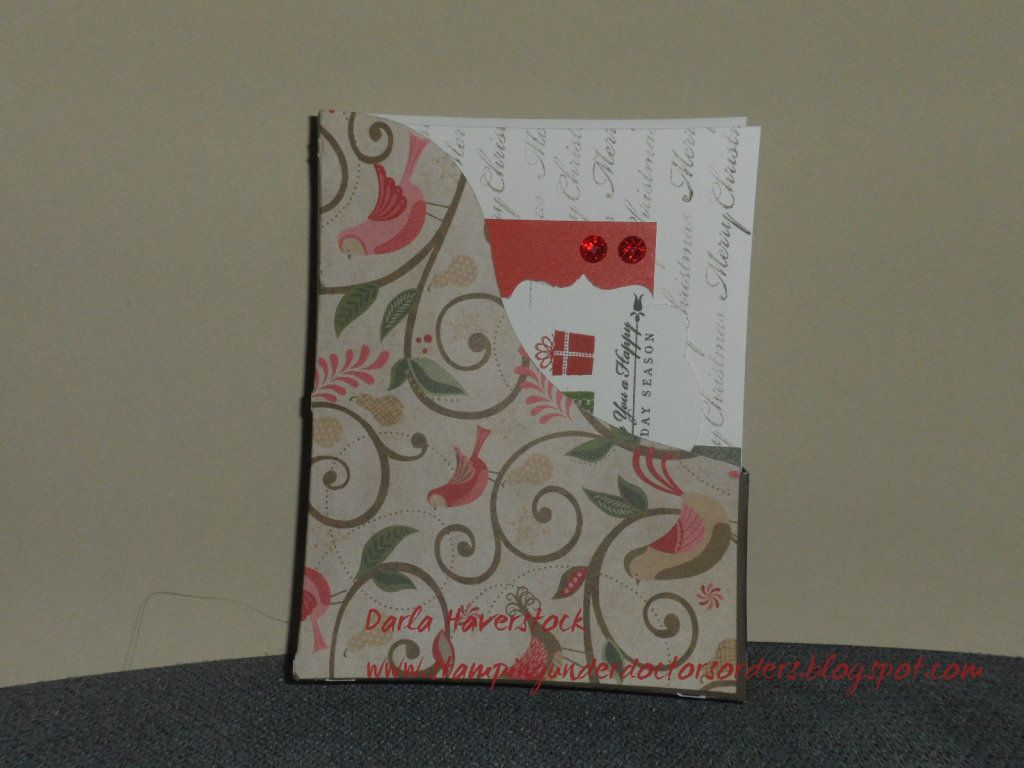
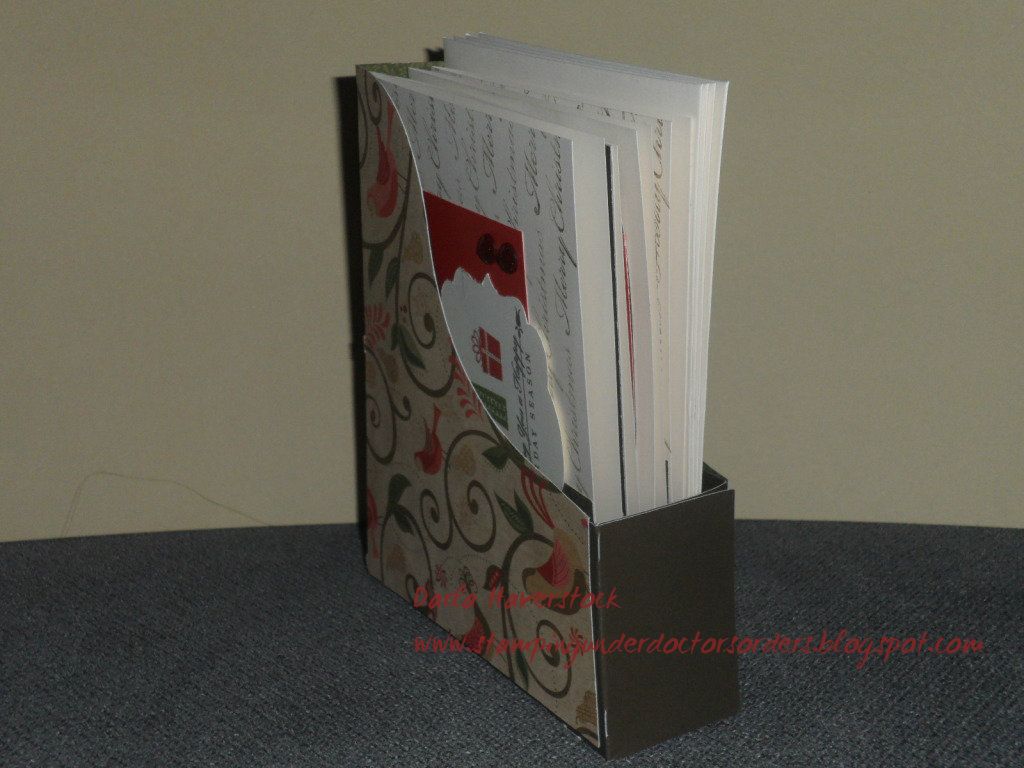
I also added a little holder for all the cards using the paper left in the package after making all 15 of these cards, yep... you heard me.. there was paper left over and actually still is a bit left after making the holder.


For the holder I cut the Accent 3 shape on page 47 of the Artiste Cartridge from my left over Pear & Partridge B&T from this kit and the Accent 3 with the shift key on page 47 of the Artiste Cartridge from the left over Cocoa cardstock from the kit. I think I will embellish the holder a bit more... maybe add some ribbon and bling! :) What do you think?

I used the Cranberry marker to ink the "A MERRY LITTLE" on this card instead of cutting out a seperate piece and masking it and inking in the cranberry ink I just found this went faster.

I just love the stamp set that came in the Pear & Partridge Cardmaking Kit as well. It's so cute and versatile! It has 6 sentiments (one being that lovely one with the birds and filigree on it to be used as a focal image), 3 different present, 3 different ornaments, the string for the ornament, 2 partridge birds and a branch. I can see myself grabbing this set a lot.


Products Used:


The next stop on the haunted trail is Diana - Dianas Free Moments

Here's the entire blog hop lineup in case you get spooked along the way:

  1. Lucy - Love 2 Create  Previous
  2. Darla - Caution Crafting is Contagious You are here
  3. Diana - Dianas Free Moments Go here next
  4. Carolyn - Nuts 4 Scrappin'
  5. Julia Hammond - You Can Create 
  6. Wendy Kessler - My Scrapbooking Blog
  7. Pam Stewart - I Candy Scraps
  8. Carolyn Mendoza - Crafting With Carolyn 
  9. Jennifer Kramer - 4 Hearts Scrapbooking 
  10. Maria Woodworth - Maria's Paper Craft Place 
  11. Kindred Hearts - It Makes TOTAL Cents
  12. Ginger Morriello - Ginger's Creative Cottage 

Thanks for stopping by for some Halloween fun -- hope we didn't scare the creativity out of you! Muah-ha-ha!

Saturday, September 8, 2012

Fall Favorites SOTM Blog Hop


Welcome to our September Stamp of the Month Blog Hop! This month Close to My Heart is offering a stamp set called "Fall Favorites". This set can be purchased exclusively through a Close to My Heart Independent Consultant for only $5 with a qualifying purchase of $50.


In this hop, you will see projects featuring this fun stamp set from many talented crafty ladies! We hope you enjoy our blog hop today!

If you have just hopped onto my blog, please start at the beginning at Lucy's blog: Love 2 Create .   If you just came from Lucy's blog then you are on the right track. :)


My Project Details:

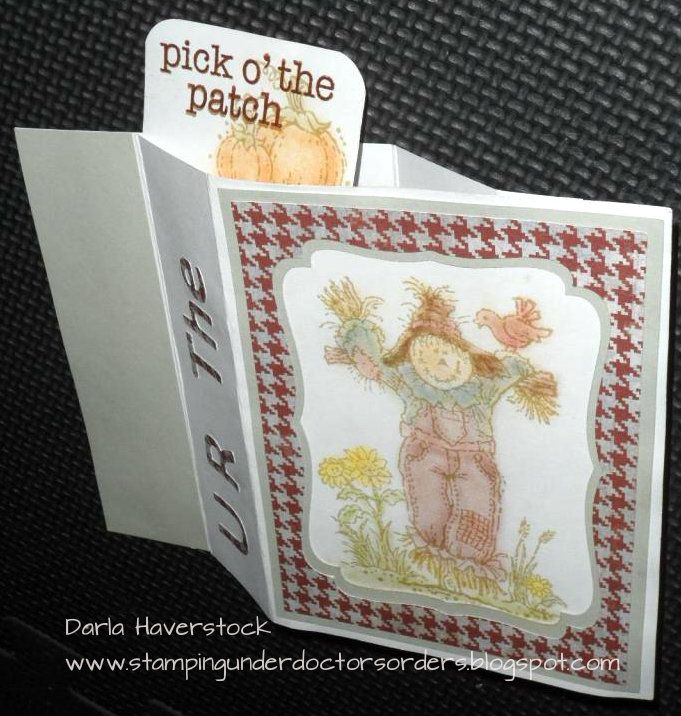
My mother-in-law sent a wonderful wiper card with Tinkerbell on it for my daughters 1st birthday, so when I sat down with this stamp set I decided I really wanted to try making a wiper card myself. :)


Now the big challenge I had was figuring out measurements since every tutorial I could find when I did a google search brought up measurements for making an A2 (4.25 x 5.5) card landscape and I needed it to be portrait for this card and when I kept the sides the same as the tutorials said it looked very strange and awkward so I had to play with this a lot. The sentiment I wanted to use also wouldn't fit on the wiper part so I changed the dimensions of that too and then inked part of my sentiment and stamped it and then inked the last part of my sentiment and stamped it below that.

The ink I used for the sentiment is Barn Red which coordinates perfectly with the Dakota B&T I used . I used one of the new colours "Cashmere"to stamp the scarecrow image and the pumpkin image on the wiper and then I wanted to colour it with my watercolour pencils but could not for the life of me find them in my messy craft area so I used chalks instead.

I cut the frames to make the opening reveling the card underneath where I stamped my image from the Art Philosophy cartridge in Cricut Craft Room (of course) but you could just use center point on your machine and cut the label shape first and then the rectangle using the same center point coordinates. The letters are cut out of the piece I cut out from the middle of the frame using the Artiste cartridge.

The card doesn't really "open" but when you pull the card front to the right and the back piece to the left the wiper piece pops up from the middle.

Here's how it looks as you "open" it.. (closed, half way and all the way).


Isn't the main image stamp just too cute?! I love that this set has a single bird, and the pumpkins as a separate image as well as some great fall words and sentiment. Love it!! You can get this fantastic stamp set "Fall Favourites" for just $5 with a $50 order plus you would also qualify to get the double stamp set "It's Your Day" for National Stamping Month (which you can see pictures of and a great blog hop full of ideas for in my previous post here) for $5... that is an absolutely incredible deal! :)
.


Your next stop on the Fall Favorites Stamp Set Blog Hop is  Shelly Mendenhall of Inky Wheeler's Artsy Musings


Here is a complete list of the blog hop in case you get lost along the way:

  1. Lucy :  Love 2 Create You came from here
  2. Darla : Caution: Crafting is Contagious! You are here
  3. Shelly Mendenhall : Inky Wheeler's Artsy Musings  Go here next
  4. Eva Friesen : For The Love Of Creating
  5. Judith Ashmore : My Blog Adventure
  6. Stephanie : The Quilted Scrapper
  7. Tina Gale : My Scrappy Ideas
  8. Maria Woodworth : Maria's Paper Craft Place
  9. Jennifer Kramer : 4 Hearts Scrapbooking
  10. Carolyn : Nuts 4 Scrappin'
  11. Madeline Morcelo : Inking From The Heart
  12. Theodora : Celebrate Crafts
  13. Laura W. :  Scrappinsweetie's Escape
  14. Michelle Stewart : My Creations With Michelle
PRODUCTS USED:

Friday, July 27, 2012

July Art Philosophy Blog Hop

Welcome to our July Art Philosophy Blog Hop! Each month we will showcase a feature of the amazing Art Philosophy Cricut cartridge which can be purchased exclusively through a Close to My Heart Independent Consultant.
We're so excited to be doing this hop and we have a fabulous lineup with some very talented ladies. There will be lots of fun projects AND some blog candy!!!

Lucy Kelleher, our hostess and fellow CTMH Consultant, will be giving away a stamp set! She is giving away a prior Stamp of the Month set that can no longer be purchased called "You Are ...". (This stamp set has a $17.95 retail value). You will find a picture of the stamp set on her blog. To enter to win, you will need to leave a comment on her blog and on every stop of the blog hop. If you also become a follower of Lucy's blog, she will give you another entry .

This month we will be showcasing the "Card" feature of the cartridge. Did you know there are 100 different card shapes you can make with this cartridge? You heard me correctly -- 100!!! Now we won't be able to show you ALL 100 card options, but we will show you as many as we can.

If you just happened to come to this blog, you should start at the beginning at Lucy's blog - http://www.love2createitall.com/.

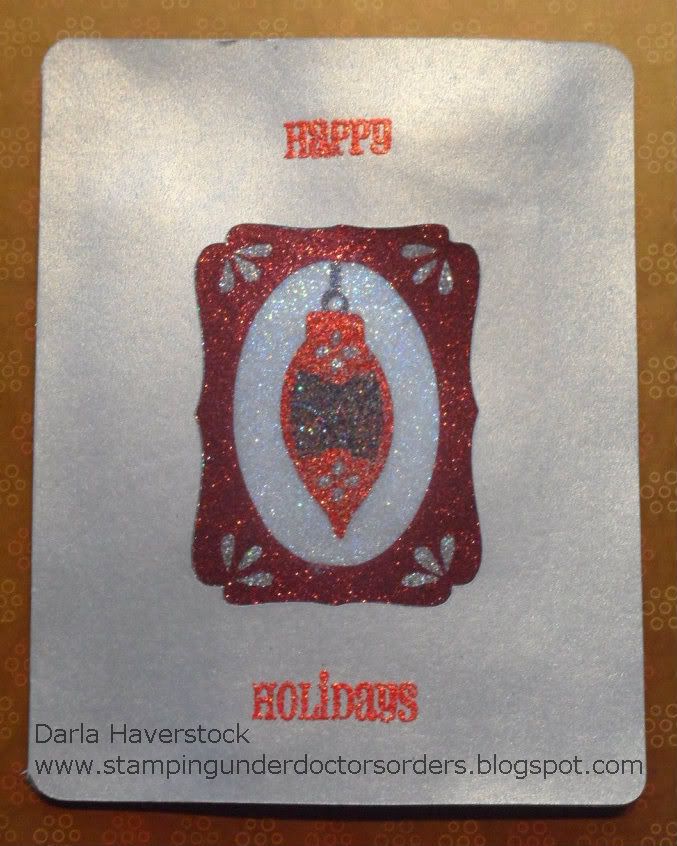
My project today uses the card feature key on page 47 (without the shift key) which is the 3rd row down 7th key over (going left to right) of the white image keys on your keypad.

First.. a close up of the glittery goodness!! :)


Here's what the whole card looks like from the front:


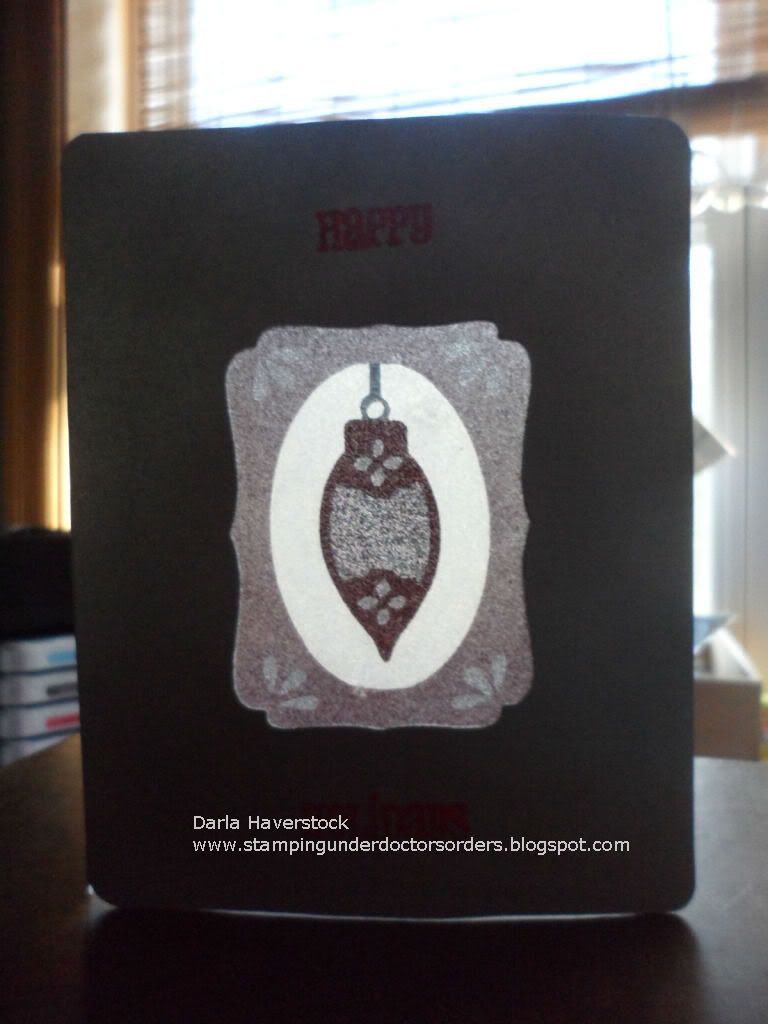
Now.. just to show you that this really was the card shape which has a cutout window in the middle of the front panel and not just a plain card with this stuck on it (and because I thought the picture looked really neat)... here's a shot of my card open in front of a window so you can see that you can see through it. :)

Here's how I achieved this look.
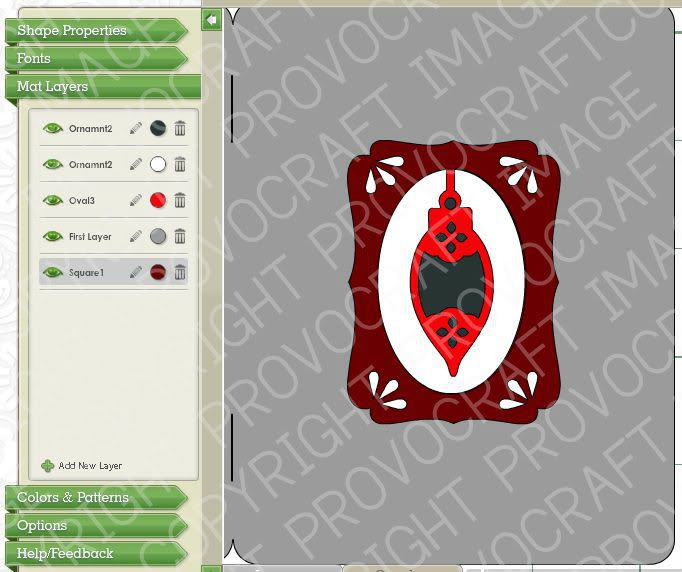
First I made my file in Cricut Craft Room so all the pieces would line up and cut in the correct spot as well as I was able to play with the colours to decide which ones I wanted to use.

Next I loaded my silver paper (the paper I used was Reflections cardstock from Michaels) and cut the card shape @ 5.5" using CCR. Then I took a piece of acetate which I had applied a piece of Scortape to first and with the mat still loaded in the machine i carefully lifted the cut card shape up on the side with the cutout and ligned up my piece of acetate with the acetate side on the mat and the tape backing facing up so that it would cut the pieces in middle of my acetate 9yes I could have just cut a bigger piece and put t in approximately the right spot since CCR shows you where on the mat it will cut but this way I knew exactly how much edge I would have on the acetate around my shape). I cut all oth the layers for the ornament and the label shape like the opening in the card front with my setting on 4 speed, 4 pressure, 4 blade depth and a mulitcut of 2 since the kind I used was BCT tape which has a very thick backing on the tape.

Now I had my card shape cut from the silver card and a solid square of acetate with adhesive on it and all the pieces cut out of the tape backing.

I removed the tape backing on the outer edge leaving all of the part you can see through the window cut opening of the card covered. and lined it up with my card from behind and stuck it on. now i just removed one section of backing at a time and applied my glitter to the exposed adhesive rubbing it on really well with my fingers and then using a shaving brush to brush away all the excess glitter.

I used my Say it in Style stamps (which is no longer available as of August 1 so make sure you order ASAP if you want this amazing set of sentiments) to stamp the sentiment in versamark ink and heat emboss with red tinsel embossing powder.

The next stop on your blog hop fun is Gloria Shirr so hop on over and see what wonderful project she has to share with you today! :)


Here is the list of all the talented consultants who are participating in this months blog hop:

  1. Lucy ~ Love2Create
  2. Darla ~ Caution: Crafting is Contagious!
  3. Gloria Shirr - Purpleglo Creations
  4. Laura Wolff- Scrappinsweetie's Escape
  5. Eva-For the Love of Creating
  6. Danielle ~ Little Bit of Scrap
  7. Connie ~ Connie's Crafty Closet
  8. Wendy ~ My Scrapbooking Blog
  9. Joanne - Josie's Joy
  10. Laura Charko - Koala Designs
  11. Carolyn Heniges - Nuts 4 Scrappin'
  12. Kindred Hearts (Penny) - It Makes Total Cents
  13. Stephanie Feist- The Quilted Scrapper
  14. Julia Hammond You Can Create

Thanks so much for stopping by and hopping with us - we hope you LOVE all the projects we created!


Thursday, June 17, 2010

Gina K. Designs Customer Blog Hop

This card was inspired by a favourite memory of mine one summer when I was around 8 years old or so. My brother and I used to fight CONSTANTLY and one weekend my parents took us out with some friends of theirs on their boat.
It was lovely until about an hour or so in when the seas got really really rough and my parents sent us below deck where it was safe. The side I sat on had a wonderful view out the window of ocean life... my poor brother however had the view of sky one second and ocean the next he was SO sick!!! Me being the younger child who usually was the one to be picked on could not let this opportunity go to waste and reminded my brother of him being sea sick while his little sister handled it no problem many many many times. :)
Of course I would never tease him about it now that we are all grown up (or would I?? lol)!!

Details:
stamps: Enjoy the sunshine Stamp TV kit.
paper: PL White for card base and stamp part, PL chocolate brown and some shimmery blue stuff I had in my stash
ink: memento
other: raffia
The image is layered on pop dots

Friday, October 30, 2009

3 x 3


A cute little note card. I had just gotten this new stamp set and HAD to try it out right away but didn't really have a particular project in mind.. I also had a roller stamp background that I had bought for 50 cents at a flea market that I hadn't used either so I was goofing with it on a small piece of scrap card which ended up being the background behind my image! :) I like how this turned out. I added a bit of crystal laquer to the flower centers.

2 cards same stamp


well... here's a couple really quick bday cards I made. Self explanatory I think.

Glitter card fix??


So I wasn't totally happy with my glitter card since the I didn't stick the diecut down very good so some glitter got under the left edge and lifted the diecut so I stamped this snowman and layered it on top.... still not sure I like it but oh well!!

Monday, August 31, 2009

Another twinkling H2O card


So this was my first attempt at the "direct to rubber" technique I had learned at the class I took on my own. One catch of course since I can't do it like I'm told was that I wanted to use one of my clear stamps!
After many failed attempts at this with beading twinks all over my stamp but no solid image, I was going to give up when I was in "The Cutting Garden" down the street from me where they sell mostly clear stamps and hardly any rubber at all and mentioned it to her. The solution she came up with is so simple and genius!! All I had to do was ink my image with versamark first and then apply the twinks over the versa onto the stamp!! :)
Not sure I'm in love with this card as a matter of fact I was actually a little disappointed with my end layout... by the time I got to that stage I just wanted to be done with this. Either way, now I can actually do this without losing my mind!! :)

Monday, July 20, 2009

Birthday card.. or other


I made this card for a cutter file challenge over at Visual Designs By Chris. Dad's birthday is on Thursday and I thought it would be a nice card for him.

The inside reads "and relax on your birthday."

Quite pleased with how this turned out

1 colour card


I made this card for a 1 colour challenge on Stampin'out alzheimers.I really liked how it turned out and thought maybe this would be my Christmas cards this year... then I realized how hard it was to make it without getting fingerprints all over the shiny silver paper... hmm..... have to rethink this one... still like how it turned out though!

Wednesday, July 1, 2009

Twinkling H2O cards

Alright, so I started this blog to share some fun projects with everyone. I really enjoy making all of my projects and hope you do too.

A couple months ago I attended an H2O class at one of my favourite places to shop for craft supplies Carousel Rubber Stamps (sorry they don't have an online store just walk in customers but if you live in NS, Canada they are DEFINATELY worth a visit!!!) The staff at this store are phenomenal!! They are very helpful and constantly sharing their knowledge with their customers!! They have "demo day" once a month usually where each staff demonstrates a product/technique, these are fabulous. Often the companies of certain products will have someone from their staff attend and do a demo as well. The first demo day I attended is when I got hooked on peel-offs and gel pens... but that's a whole other post.. lol.

Anyways.... enough rambling... at the wonderful class I attended Deja (the owner) was the instructor and she showed us 3 different techniques for H2O's, and we created 3 different cards using these techniques.

Here are my 3 cards...
colouring
Direct to rubber technique


watercolour
I absolutely was thrilled with these and so I had to share them although as I said I can't take credit for them as the actual layout was from the class by Deja.
If anyone is wondering which stamps we used just ask... I don't have them right in front of me so I can't put them in the post but I own all but the rose leaf stamp (I have a different rose leaf stamp so I didn't get that one).

  
Get widget